Up next in 10



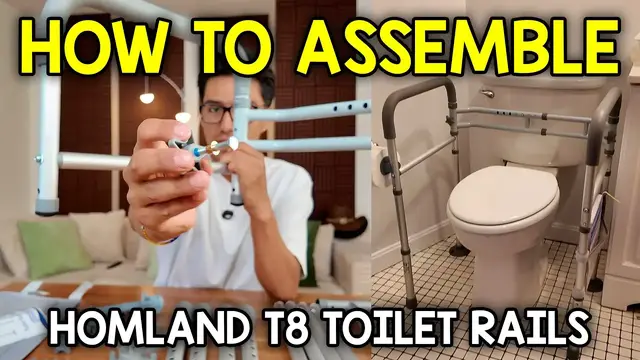
In this video, I show you how to assemble the HOMLAND T8 Toilet Safety Rails.
Check it out here https://amzn.to/4ctMuje
Want FREE Shipping With Amazon Prime? Get a 30-DAY FREE TRIAL by signing up here http://www.amazon.com/tryprimefree?tag=thechrisreview-20
DISCLAIMER: This video and description contains affiliate links, which means that if you click on one of the product links, I'll receive a small commission. This helps support the channel and allows us to continue to make videos like this. Thank you for the support!
Show More Show Less View Video Transcript
0:00
This is how to assemble the Hamlin toilet safety rails
0:04
We have the left and right armrests, the middle tubes, the foot tubes, the rear suction cups
0:10
the toilet paper holder, the C-clamps, the pentagon screws with the copper washers
0:15
knobs, the organizer pouch, and the instruction booklet. And the first thing I do is to grab the left armrests and we're going to open it up
0:22
Now right over here we're going to grab two pieces of hardware starting with the C-clamp
0:26
This is going to be placed right on top and you can just push it in
0:31
And next we can grab the pentagon screw with the washer and the knob
0:35
So this just unscrews easily and I can remove the knob, remove that copper washer
0:41
And we're going to insert the pentagon screw starting from the backside over here
0:47
Just like that. And now it's time to insert that copper washer
0:52
and this goes with that tapered edge on the inside, just like this and we could screw this in place Now that it nice and secure I grab the other rail and do the same thing Open it up That C goes right on top And now time for this
1:08
Just like that. And now it's time to attach the left and right portions together
1:12
So just push it in. Hold that button. Push it in again. And this is adjustable, but I'm going to leave it at the widest setting for now
1:21
And now it's time for the feet. So the easiest thing to do would be to flip this upside down
1:26
And I'll just put this off to the side for now And now I'm going to attach the middle tube to the foot tube
1:32
So make sure to grab this end right over here And attach them together
1:37
And once again, I'm just going to attach it to the highest setting So that's one, two, three, four
1:44
Now it's time to put all feet to the bottom of the safety rails
1:48
So I'm going to grab that again and then make sure it's upside down And attach them over here
1:52
But first we have to remove the caps at the bottom So these just pop right out and these are just gonna be like little rubber caps
2:00
There just like that and now the feet can be placed inside So just push it down and then press at both ends of these push pins until it clicks into place And then do that for the other three sides
2:13
Just like that. And now if we look at the feet, all the feet are going to be the same. But if you want, you can use these other suction cup feet for extra security
2:21
And I am going to use these. So to do that, just start by removing the caps of two of the feet
2:26
And these are going to be the feet at the rear. So wherever this part is, remove those feet at the bottom
2:30
And this is pretty simple This just pops right off Just with a little bit of pressure
2:36
Like this And then here's what the bottom of that looks like
2:44
And now we can grab that suction foot cup And then screw that in Alright, that's one foot
2:48
Now this other side here And that's two So here's what we have so far
2:52
And now there's a few things left Which is going to be to add the toilet paper holder
2:57
And then the pouch In this case, I'm gonna add this to my right side
3:01
So I'll just place it like right over here and you could just pop this in and it stays in place like that And the pouch is gonna be just as easy And here what we have so far so here a quick preview of what it looks like but now let head over to the bathroom with this so this is a little tricky to get inside so i am going to go sideways and then i
3:18
can put this right over here and this does feel a bit uneven if you get a closer look so i'm
3:26
actually going to push this inside and make it a bit narrower there and now it just feels a little
3:33
bit more even. And here I have two things to add. We're going to add a toilet paper holder right on
3:38
my right side. So I'll make sure to put this correctly just like that. Although this is kind
3:47
of heavy, so it doesn't stay in place. But let me see if I actually just install it like this
3:52
instead over here. Yeah, this part over here feels more secure. So I'd probably just install it in
3:58
the front and then sideways. Actually, this might be the proper way to install it. And then I over
4:03
here, I have a notebook. So I'll put this right at the bottom here and then you can get a better view
4:07
of what it looks like right there. So that's how to install the Hamlin toilet safety rails
Computers & Electronics