0:00
So I only ever broke one phone before and that's because I didn't have a screen protector on
0:04
So now I always have screen protectors just in case my phone drops. And in this case, my phone dropped the other day and I got this ding here
0:12
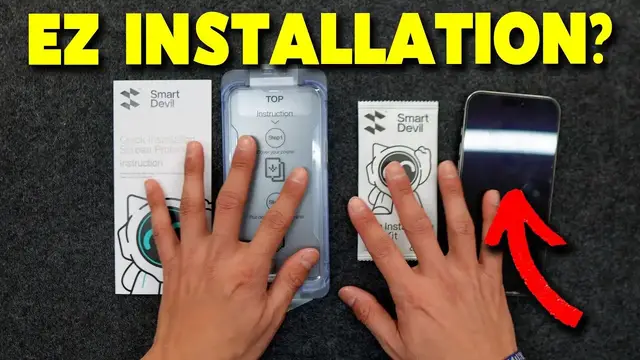
which means it's time to change the screen protector. So thankfully, I got this one by SmartDevil
0:17
They sent it to me. So in this video, I'm just going to check it out and see how easy it is to put on my iPhone
0:23
All right, so this claims quick installation. So let's see how quick it really is
0:26
So for starters, right here we can open this on the back by pulling the tab. Yeah, I think I messed up the pulling, but I can still open this up
0:33
Alright, there, I got that out of the way. And so inside the box, we're going to get all these things
0:37
This is just going to be a cardboard piece so I can get rid of that. So these are going to be the firm installation toolkits, and we have three of them because
0:44
there's three screen protectors. So the first two screen protectors are going to be inside this envelope, and we also get
0:49
some installation tips, as well as the installation guide. And on the last one, we're going to have the other screen protector, as well as the whole
0:58
apparatus that makes the installation so easy. So here's everything we need
1:02
The phone the installation kit the actual cover with the screen protector and the guide So the first thing to do is to go over to the phone and then just remove the current screen protector and mine is
1:13
broken so hopefully my phone below this isn't broken either but this should be able to pull
1:18
right out pretty easily. Oh yeah and this cracked even on the side. And yeah this is why I have
1:26
screen protectors to protect my screen so my screen looks nice. Just a little bit dusty so I
1:32
do need to clean that off and that's what this firm installation toolkit is for. So if we take
1:38
a look at the back side there's going to be three different steps. First step is the cleaning wipes
1:42
second step is to dry them, and then the dusting sticker to remove any dust particles that are
1:47
still on there. All right and then here is the first one, the cleaning wipe
1:57
All right that looks pretty good. Now I can use the second thing which is going to be this cloth
2:01
to dry it out. And I'm just having up and down strokes. Alright, that looks pretty good
2:09
And then the last thing is going to be dusting stickers So stick off dust particles So this is if anything I still be on it So I don think there a correct way but I usually just do this
2:22
And that'll pull any little particles that might be stuck on there. All right, that's good
2:31
Now with that out of the way, now it's time to grab this big thing
2:35
And what's really important is to make sure that this is on correctly. So this little piece came loose like this
2:40
so it can be inserted back inside, just like so, so this way when it's pulled, it goes through this
2:46
part here, and now holding it here, I can place it on top of my phone, making sure this correlates
2:51
with the top of my phone, just like that, and then give it a push on all four corners
2:57
there, and now it's securely in place, and now this is going to be the fun part, which is actually
3:01
pulling this out, so let me get like a good grip on it, push a little there, and just slowly start
3:06
to pull and then here you can see how it looks like
3:12
Alright there and now it says wait 10 seconds so I just gonna wait for all the bubbles to disappear as much as possible Alright that should be good and now it time to remove this whole piece but before pulling this out we actually have to grab the tab up here and just kind of hold somewhere here and just start pulling it out little by little just like so
3:39
And there this is removed and here's what we got. So this is almost perfect there's just going to
3:44
be a bubble right here. So to get rid of this bubble, credit card or in this case, I'll just
3:49
use my fingers to move it out of the way. So after using my thumb and the cloth and pushing the bubbles
3:54
out, this is what we get so it looks nice and clean. And I was able to get all the bubbles out
3:59
So here you can see it's going to be a perfect fit. And I can definitely say that this is pretty
4:06
easy to install. It's definitely a quick installation. The hardest part about this would
4:10
be getting this opened. And then the second hardest part would just be I'm getting rid of the bubbles
4:14
but the screen is aligned perfectly and it's nice. And good thing is that if the screen breaks
4:20
cracks or scratches a lot, then well, I have two other ones to use later on
4:25
But yeah, that's a quick installation of the Smart Devil Screen Protector for the iPhone 16 Pro