Up next in 10


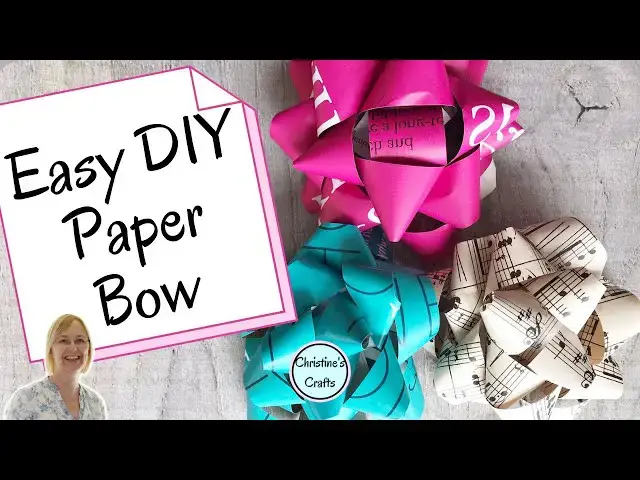
Use up that old paper and make some stunning bows for all your parcels and packages. Use any paper including old magazines, books, music scores and school work.
What could be nicer than completing a gift with some lovely packaging and a hand-made bow. Be an eco-warrior and get upcycling!
If you enjoy crafting my blog is full of great ideas and tutorials. Plus if you subscribe you gain access to my free resource library, which includes a home crafts e-book, planners and much more, and get to hear about my latest projects first. Take a look at https://christines-crafts.com/
Enjoy watching and crafting your own paper bows. Please leave me a 'thumbs up' if you enjoyed this video and subscribe so that you get to see all my videos as they are posted.
You can also find me across social media. To see all my information and ideas find me at https://linktr.ee/Christines_Crafts.
If you are thinking of opening an Etsy store then use this link and get off to a great start with 40 free listings https://etsy.me/32xoPdg
Show More Show Less View Video Transcript
0:00
In this video I'm going to show you how to make your own paper bows
0:03
They're really easy you can make them out of any paper and I'm using old magazine paper
0:08
but look you could even use old music. I'm Christine of Christine's crafts and this
0:13
channel is dedicated to crafting on a budget. So what are you going to need to make your
0:18
bows? You're going to need all these things here so you're going to need some
0:22
double-sided tape which I'm sure you've used on other crafts and you're going to need
0:29
some a ruler and a pencil for you're measuring, some scissors and you're also, if you're going to do it
0:38
like me, a stapler and some paper. Now you can see I've used a magazine page and if you are
0:44
going to use a magazine page, I recommend you find something where one side's mainly one colour
0:48
and then you'll get one coloured bow. But obviously you can have lots of different colours
0:52
and get creative. So the first thing you're going to do is make your strips of paper
0:59
And the way you're going to do that is by measuring from the long side three quarters of an inch
1:06
And then you're going to keep repeating that measurement so that all your strips you're going to make end up three quarters of an inch wide
1:14
Now obviously you could make your bow bigger or smaller and you could use wider or narrower strips
1:21
But for this bow that's about three and a half inches across, we're going to make ours three quarters of an inch wide
1:28
Now if you're watching this video you're going to see that I went slightly wrong and then I had to redo them
1:33
Don't worry. Just take your time and get them all to be three quarters of an inch
1:38
You'll notice that I'm measuring quite near one end of the page and that's because we're going to repeat the whole process at the other end so that we get nice straight lines
1:51
Now you actually need eight strips. Now if you're looking closely you'll see I've marked nine because I just keep going all the way across the page
1:58
but we're going to need eight for this bow. So once you've marked it, place your ruler on the other way
2:06
making sure it sits nicely across your two marks and then simply draw the line in And repeat all the way down for each pair of marks
2:21
So you can see all you're doing is marking your identical strips
2:28
Just take your time and get them right. So obviously it doesn't matter what paper you're using
2:37
but about the size of a magazine gives you nice long strips. so they're plenty long enough and you just need to cut along those lines and get your
2:51
identical strips so just follow along carefully if you have a cutting mat and rotary
2:58
cutter and that's how you cut your paper that's fine this will be a lot easier step for you you haven't done any of the measuring you'll just be able to use the marks
3:04
on your cutting board so keep going until you've got eight and then we're going to cut them to the correct length because they don't all go to the same length
3:17
So the first thing we're going to do is make the longest strips
3:24
So take one of your strips and measure 10 inches. And then take another two strips, so you've got three in total
3:38
Make sure you stack them together and line them up perfectly. And then you're going to cut your strip across at that 10 inch mark
3:49
So you've made all three in one go. Now obviously if using a cutting board you do it your way but this is if you're using scissors
3:58
And now we're going to repeat that process but this time you're going to measure nine inches
4:07
And again you're going to take three strips in total and cut them at the nine inch mark
4:16
So you're going to end up with three strips that are nine inches long
4:28
And then you going to take another strip and mark it at 8 inches
4:39
And this time you just want 2 strips. So you're going to take one of the other strips
4:43
You've got a total of 2 that you're cutting at 8 inches
4:55
And then some of those bits you've cut off, you're going to use one of them as your centre
5:02
So for the moment you can just leave it, but I think in the end I made mine two inches long
5:07
So now we're going to form the twists. So take one of your 10 inch strips and twist it like I've done in the video
5:16
And then you need to fix it in place. So you can use glue, you can use tape
5:21
I found a staple as the quickest and the easiest. So watch that twist again. It's a simple twist from one end and then come from the other end so they cross in the middle
5:31
And you're trying to get it in the middle but you don't need to measure it or anything, just do it by eye and then fasten it
5:38
You can see if it's just moving around, you can just adjust it and form your loop
5:47
So then you're going to do exactly the same with the other one and then you've got all three done of the ten
5:52
three done of the 10 inch. You're not going to be surprised to learn. You're then going to repeat
5:57
that process for all the other strips. So you'll see that you're just making slightly smaller
6:02
loops and we'll be able to build them all up to form your bow. So you should have eight. And then
6:12
you're ready to start assembling. So there's two different ways of doing this. You're going to
6:17
take a loop and you need to put some of your double-sided tape either on the back of
6:22
one or on the front of one. I choose to put it on the back of the loops and then glue them
6:29
to one underneath because I find that easier. But if you find it easier to put it in the
6:34
side of loop and then fix the next one down, then that's fine. It doesn't make any difference
6:41
So once you got the backing off the tape you simply going to place that loop directly on top of the other loop but not at 90 degrees Just put it so the loops align basically next to each other because you have got another
6:57
one that size that you're going to glue on in the same way
7:02
So again you're going to put some tape on the back of it
7:07
Take the protective paper off and then glue it in the centre of the two loops you've already
7:14
got in place and then you're going to have a whole layer complete and you can see how your bow
7:21
is starting to form and now you're just going to repeat that whole process again with the next
7:28
size down so just put your tape on and stick it in and you can see that it gets a little bit
7:37
busy in there but just persevere because it gives you a really nice full bow and then when you've
7:43
You've got the two, obviously you can put one in and then put the other one at 90 degrees to it
7:48
And you're just left with the centre of your bow to complete
7:53
So take the small piece of strip that you've got, I do recommend two inches long, and then
7:59
put some double-sided tape on the outside and roll your strip up
8:07
So you'll see at this point I cut mine down because I was trying to decide on the size and roll it to full
8:13
form a cylinder. And then once you're happy with your cylinder, you need to put some double-sided
8:22
tape on the outside and then use that to stick it into the centre of your bow
8:30
And it just means you don't have a white middle, you have a nice coloured middle, in my case
8:35
blue, and it just completes your bow. And then well done, you've got a completed bow
8:42
You've got a completed bow for your parcel. So all you've got left to do is make sure it looks pretty
8:49
If any of the loops have got flattened, just pull them out. And then affix it to your parcel
8:54
So you just need to put some more double-sided tape on the tap back of your bow and stick it down wherever you want
9:01
So thank you for watching. I hope you've enjoyed this. Please give me a thumbs up and subscribe for more of the same
#Crafts
#Crafts
#Art & Craft Supplies
#Other