0:01
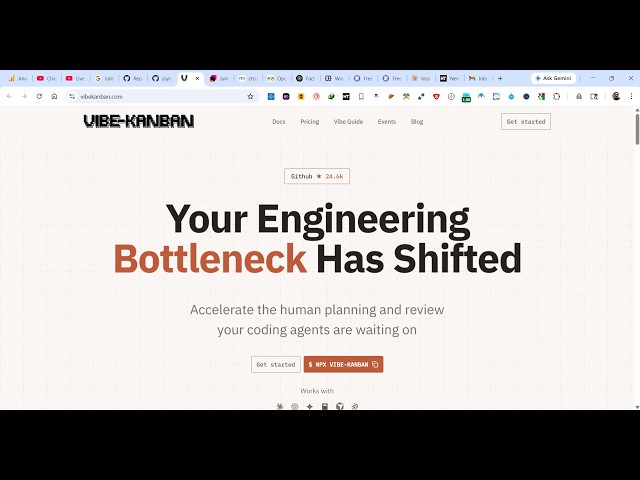
Uh hello guys in this uh live stream I
0:05
uh yet another coding AI provider or
0:09
assistant which actually builds full
0:11
stack coding application. So if you
0:14
simply type this on uh v-canbunai
0:18
the very first link which comes this is
0:20
actually open-source coding agent
0:23
uh the very first link which appears. So
0:26
this is actually the coding AI assistant
0:29
and it's also available on GitHub as
0:32
well. It's got almost 24,000 uh stars.
0:37
So get 10x more out of clot codeex or
0:41
any coding agent. So you can see that.
0:44
So the command is simple. Once you want
0:47
to install this, click on get started.
0:50
You will be redirected to the
0:51
documentation. And this is a command
0:54
which is given. Simply install this.
1:02
So once you install this now, let me
1:04
just go to the directory wherever we are
1:06
developing the project.
1:11
So just open your terminal
1:14
on Windows. Simply paste the command.
1:20
So once you paste the command you will
1:21
be granted with the interface. So you
1:26
if you want to use it as a coding agent
1:29
IDE or notification preferences.
1:34
So then you need to authenticate uh
1:37
step-by-step project uh is
1:42
all the coding agents are supported
1:44
cloud code, cursor agent,
1:47
coin code all these famous.
1:51
So simply press okay. We need to install
1:54
this. So now you can see it is
2:05
and then it will redirect you to the
2:07
actually authenticate what you will be
2:10
using inside VS code or coding agent you
2:15
need to set up from here. Uh it can be
2:18
coin from here. So click on continue.
2:24
Then you need to authenticate using your
2:26
Google account. So for the very first
2:28
time, simply select authenticate.
2:35
So once the authentication is
2:36
successful, you will get this message
2:39
and from here you select your project
2:42
issues. All these things you can do. So
2:45
now this is actually the screen of this
2:54
So these are journal settings. From here
2:56
you can control whatever agent you are
3:08
So from here you can set the project
3:29
I will check this build image.
4:08
From here you can select whichever agent