0:00
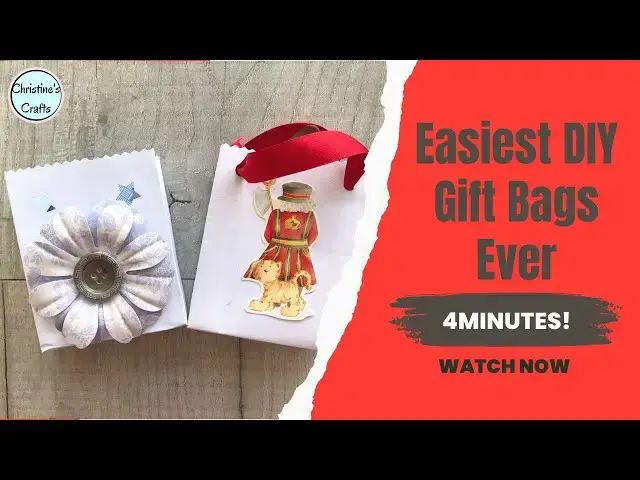
In this video you're going to learn how to make the easiest and most inexpensive gift bags you've ever made
0:06
All you need is an envelope. Now you can see you can make them really really different by using different coloured envelopes
0:12
using big envelopes, small envelopes, wide envelopes, narrow envelopes. You can stick whatever you like on. You can make holes in them to give a different embellishment
0:21
You could even put a nice ribbon on and carry the bag. Use them for wedding favours, party bags, just to give a little gift in. Great for jewellery
0:30
So, let's get started. All I'm going to use is a really simple, boring office envelope
0:36
Now you could use a fancy envelope, but just to show you how inexpensive this can be
0:40
the cheapest envelope possible. So all you're going to do is seal your envelope shut
0:45
Now you'll see that I'm just going to seal those extra bits at the side. You don't have to, but it just makes it a complete glued bit at the bottom of your bag
0:54
And then just seal your envelope however it does. As it's completely closed
1:01
And then all you're going to do, in my case, is cut the envelope in half
1:06
If you want a tall gift bag, just cut one end off. But I'm going to make two gift bags out of this
1:12
And I'm using some children's scissors. They give a nice little zigzag top, but you can use any scissors you like
1:18
or you could use your cutting wheel and board. So long as you end up with, basically, a little bag
1:25
Now to make it a proper gift bag, you're going to fold on the bottom
1:30
about a centimetre, half an inch, that sort of size. I mean, obviously the size is up to you, so I wouldn't get too stressed about it
1:37
And then fold it back the other way. Just to give you a good, proper fold
1:42
And you can see I'm not being precise about it, I'm not measuring it, I'm just doing it
1:47
And then repeat that for each side of your bag. Again, you can see, get a good crease
1:56
Turn it all over, get a good crease the other way. Do that again
2:06
And then we'll be ready to start making it 3D. If you're enjoying this video, please press the Like button
2:12
and then it will pass to more people, and more people will be able to make their little gift bags
2:16
which you may have seen called Bagalopes, which is a great name for a bag made from an envelope
2:22
So anyway, open it up, and you can see you can squash that bottom flat
2:28
and you can start to get that point. Now, if on each side you fold it in, it'll really help you to get that point
2:36
And once you've got it, you can see it's going to go onto the bottom of your bag
2:41
Once you're happy with it, turn your attentions to the other end
2:45
Form that point, fold your sides in, and then make sure that point will go nicely on the bottom of your bag
2:57
Then you need to glue those points down to give you that stability and that 3D on the bottom of your bag
3:04
I'm just using some glue dots. You can use any glue you like. It really doesn't matter
3:08
You could even tape them in place. Whatever works for you. A lot of my crafts are very much about doing it with what you've got
3:16
as inexpensively as possible. So, again on the other side. And then all you're going to do is press those points down
3:31
So you can push them over. You're going to need to pop something inside the bag, like your fingers
3:37
And then once you've got them both down, I recommend standing the bag down onto your desk
3:43
and pressing them in place to make sure they're nice and firm
3:47
And there you go. As quick as that. And believe me, you get very quick at these if you make a few
3:52
You've got your gift bag. So, I hope you've enjoyed it and I hope you're going to enjoy making yours
3:57
and embellishing them for whatever occasion you like. And, as you can see, great variety
4:04
So, enjoy yours and do let me know in the comments below what you use yours for