0:01
Uh hello guys. In this uh video I will
0:03
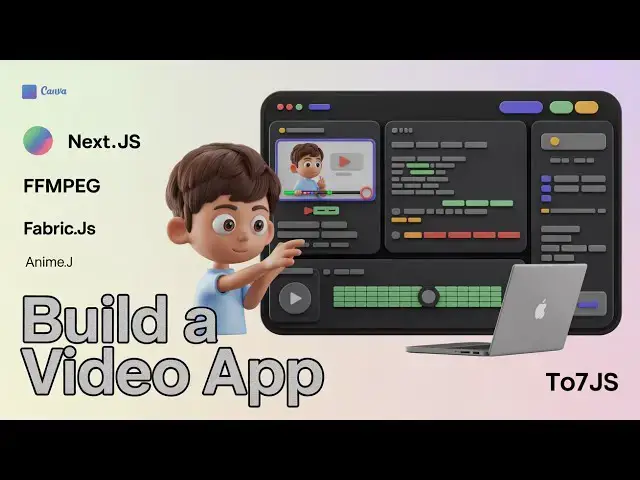
show you a ffmpg camera video editor
0:07
that I made. It's a simply it works in
0:10
the browser. It has a its own timeline.
0:14
So this is the actual demo that you will
0:18
Hello guys, welcome to this video. So in
0:20
this video you can also add animations
0:22
as well. So this animation is appearing
0:24
the text animation appearing from left
0:27
Same thing you can do for images as
0:29
well. So we also have the export button
0:31
as well where you can export the video
0:33
file, trim the video, cut the video. So
0:36
this is coded inside Nex.js. So as you
0:39
can see this is the overall directory
0:40
structure of the project. It's all coded
0:43
inside TypeScript. Each and every
0:45
component. So if you want to purchase
0:47
the source code, the link is given in
0:49
the description. So if I show you the
0:51
package.json file. So right here we
0:53
using the latest version of uh Next.js.
0:56
JS and React and quite a number of third
0:59
party libraries we have used which is
1:02
fabricjs nmjs canvas.
1:06
So it's basically it doesn't have a back
1:08
end. It all works directly in the
1:11
browser. No need to worry about the back
1:14
end. You simply run the project by going
1:16
to command line simply running the
1:18
command npm rundev. This will start the
1:21
local development server http localhost
1:24
3000. So once you open it directly in
1:28
the browser now we have this menu
1:31
section here. First of all you add your
1:33
video that needs to be edited
1:36
and uh it can support all the
1:40
extensions. Now we simply add the video
1:44
It's very easy. You basically resize the
1:47
video as well. It's let's suppose I
1:50
place it here. You can even change the
1:51
background color as well by going to the
1:54
fill section. And very simply changing
1:59
And now let's suppose you want to add a
2:01
text for watermark purposes. You can
2:03
even do that as well. Simply select the
2:06
text, resize it. And now if you want to
2:09
apply animation, just select the text.
2:14
And we have a set of animations out
2:16
there which is the fade in, fade out,
2:20
slide in. If you want to slide it from
2:23
the left position and it should happen
2:25
for six seconds. Hello guys, welcome to
2:28
this video. So in this video I will show
2:32
So in this easy way you can actually
2:34
come from the right as well background
2:47
HD. Uh hello guys, welcome to this
2:51
So you can basically select the
2:53
direction of the animation. Uh now if
2:56
you are done, you can go to the export
2:58
button, export the let's suppose the
3:01
first 6 seconds of the video.
3:04
Click on export video.
3:06
And now the video will run for the very
3:09
last time for the export to complete.
3:12
And automatically your video will be
3:14
downloaded and the end result will look
3:16
something like this. the animation will
3:23
So it's a very simple kind of a browser
3:26
video editor something like Canva which
3:28
directly runs in the browser. You don't
3:30
need fancy video editing softwares. You
3:33
can directly run this application in the
3:35
browser. This will save you a lot of
3:37
time and if you do have the knowledge of
3:39
nextjs you can add additional features
3:42
on top of it or if you want to modify
3:44
any sort of feature you can even do that
3:46
as well if you have knowledge. So all
3:49
these are pre-coded you can also see the
3:52
source code as well once you purchase
3:55
it. The link is given in the description
3:57
if you are interested. And the thing
4:00
about this you can same thing you can do
4:03
this for images as well. You can add
4:06
your own watermark images if you have
4:16
So here you can select your own images.
4:22
same thing you can apply for images as
4:32
so the thing about this timeline editor,
4:35
so right here you will see that.
4:42
So if you're interested guys, the link
4:44
is given in the description.