Up next in 10


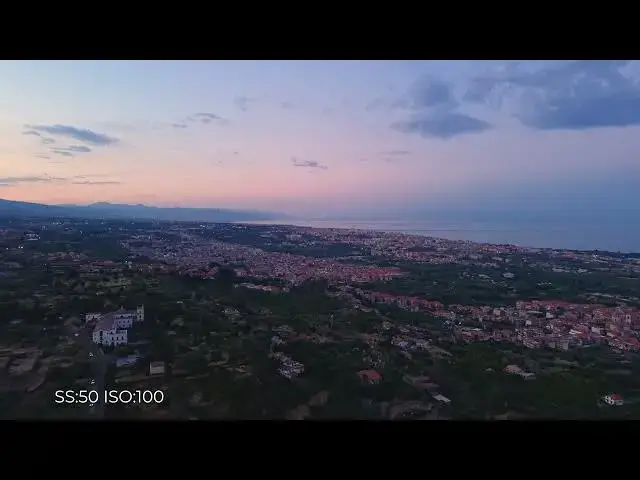
Mini 5 Pro Night Footage - Manual Exposure
Show More Show Less View Video Transcript
0:00
When shooting footage, I always use
0:02
manual exposure.
0:04
However, with Mini 5 Pro in low light,
0:07
it might be worth using auto or
0:09
semi-auto exposure as we will see later
0:12
on.
0:14
The main advantage of manual exposure is
0:16
that we can control the ISO and shutter
0:18
speed values.
0:22
Following the 180° rule, the recommended
0:25
shutter speed is 1/50th of a second at
0:28
25 frame pers and 160th of a second at
0:32
30 frame pers.
0:35
In low light situation, we can reduce
0:37
the shutter speed to 125 or 130 to gain
0:42
one additional stop of light.
0:45
For ISO, we try to use the lowest values
0:48
to avoid noise and other artifacts.
0:53
Let's start with ISO 100 and shutter
0:55
speed at 150.
0:58
As you can see, the footage is
1:00
underexposed by a couple of shots.
1:04
We can improve it while editing, but we
1:06
can do much better with different
1:07
exposure values.
1:12
Now we bring the shutter speed to 1 over
1:15
25 maintaining the ISO at 100, thus
1:18
adding an extra stop or exposure.
1:24
It is an improvement over the previous
1:26
one, but the clip is still underexposed.
1:28
We need to raise the ISO.
1:35
Let's now try ISO 400 and ISO 800 with a
1:39
shutter speed of 1 over 50.
1:44
In both cases, the Mini 5 Pro handles
1:46
the high values very well. There is no
1:49
hint of noise or other artifacts. The
1:52
colors are rich with a good dose of
1:54
contrast.
1:59
During the blue hour, the luminosity
2:01
decreases very quickly. In most cases,
2:03
we can optimize the exposure with an ISO
2:06
value between 200 and 800 and a shutter
2:10
speed of 1 over 50 or 1 over 25.
People & Society