0:00
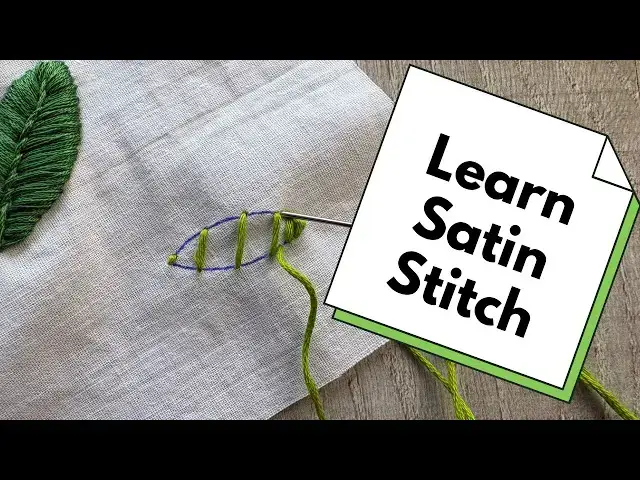
So, we're going to do satin stitch,
0:02
which is really good for filling in
0:04
shapes. As you can see all these shapes
0:06
here, and we're going to do these leaf
0:08
shapes. So, you just need your needle
0:10
and thread. And you could go vertically
0:13
up these leaves. You could go
0:14
horizontally across them. It's entirely
0:16
up to you. I'm going to go across the
0:20
leaves. So, you're going to bring your
0:22
needle up just outside the line that
0:24
you've drawn. So, we make sure we cover
0:26
it. go across and back down just outside
0:30
the line on the other side. Now, I say
0:32
just outside the line so that you cover
0:34
it and also so that you're consistent
0:35
and don't get wiggly lines. You get a
0:37
nice smooth line, which is what you
0:39
intended. You'll notice I haven't
0:42
started at one end and I'm not doing
0:44
them up close to each other. I'm
0:46
splitting the shape into sections. And I
0:50
do really recommend doing this because
0:51
it makes it so much easier to get a nice
0:53
even finish. So you can see the gaps
0:56
I've left and I'm just working my way to
1:01
And then once I've got the shape broken
1:05
I'm going to fill each of those little
1:09
So you keep all your stitches parallel
1:15
And you focus on coming up just outside
1:17
the line and then going down just
1:20
outside the line. Keep that smooth
1:24
And depending on the size of the gap
1:26
you've left, it's ideal in each of your
1:29
spaces to do a stitch in the middle of
1:35
and then keep dividing those spaces
1:38
until you've filled it in. It's just
1:41
really helpful for consistency.
1:45
So you can see I'm just bringing it up
1:47
and then going back down in the middle
1:53
And then you can see there's just a
1:55
little space left now. So I'll come up
1:57
in the middle of that
2:03
And then that will have filled that bit
2:07
And then you've just got to keep going
2:10
and fill all your spaces.
2:13
So once you get to the other end, you're
2:15
just going to have a little tiny stitch.
2:19
take your time. Make sure you're holding
2:21
your fabric nice and taut. You don't
2:23
want to pucker it. You don't want to
2:24
pull your stitches too tight. If you can
2:27
use an embroidery hoop, and we'll talk
2:29
about that in a moment, but if you're
2:30
working close to an edge like this, as I
2:32
am, it's not always an option. Depends
2:36
what you're doing, but it is an ideal.
2:38
But you can see I'm holding the fabric
2:41
taut and that's the next best thing. And
2:44
then when you get right to the end,
2:48
you're simply going to take your thread
2:51
and then fasten off. So just run it
2:56
through one of your stitches and then
2:58
put your needle through the loop.
3:02
And there you go. Do another one.
3:06
And off we go. Now, I mentioned an
3:09
embroidery hoop. If you've not used one
3:12
before, they look like this. And it can
3:16
just hold your fabric taut. So, all you
3:19
do is unscrew it slightly just to loosen
3:23
it. Take the inner hoop and put it
3:27
and then put the outer hoop on top and
3:31
it will just pull it tight. Now you just
3:33
want to line it up and then you would do
3:36
the screw back up and it will hold your
3:38
fabric nice and taut and make it easier
3:39
to embroider. So that's just a tip for
3:42
you. But what I'd like to do is also
3:45
show you a great way to do leaves that I
3:47
really like. So let's complete and there
3:51
you go. I've done all those stitches.
3:55
But as I say, I've got another way of
3:56
doing leaves that I do really like. And
3:59
it simply involves combining some of
4:01
your stitches. So on the left here, I've
4:04
done a stem stitch up the middle and
4:07
then done satin stitch out to either
4:09
side. Beautiful. I think it's a great
4:12
leaf effect. So off you go and practice
4:15
and enjoy your satin stitch.