0:00
Welcome to day 21 of the 30 mixed media
0:04
card challenge. All these cards can be
0:06
made using supplies you've got at home
0:08
in your craft stores and you'll find
0:11
them on the screen or linked below. And
0:14
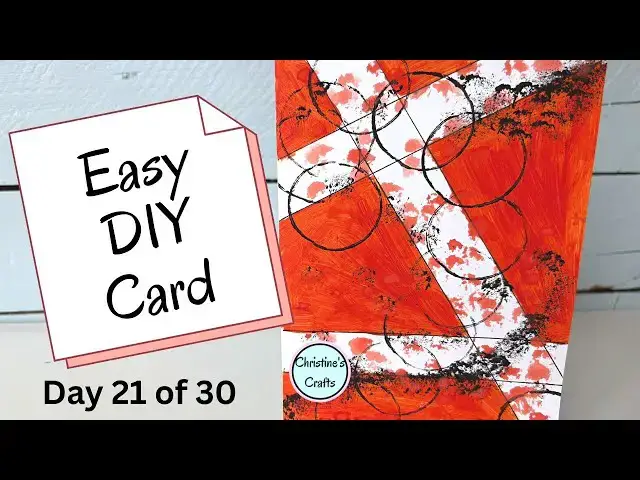
this is the card we're making today. So,
0:17
let's get started. You'll need a piece
0:20
of card whatever size you would like and
0:22
fold it in half or use a card blank if
0:25
you buy those. And to start with, we're
0:27
going to mark out our geometric pattern.
0:30
Now, you could do this in pencil and
0:32
then go over it later, but I'm just
0:33
going to go straight away with the pen.
0:36
I'm just using a fine liner black pen,
0:39
and I'm making it up as I go along. So,
0:41
if you've got some particular design in
0:43
mind and you want to be really careful,
0:45
feel free, but you can just get creative
0:47
and go for it. And you'll see I'm not
0:49
measuring those lines. I'm not working
0:52
out that they're all the same gap. I'm
0:55
not even making sure they're parallel.
0:57
I'm just doing it all by eye. And that's
0:59
sort of part of the pleasure of this
1:03
And this is only one way of doing a
1:04
geometric card like this. What you could
1:07
do is use masking tape to mark off the
1:10
lines like I did in some artwork on some
1:13
canvas, which I'll link on the screen
1:14
and in the description below. But I'm
1:16
doing it this way this time. And all I'm
1:19
going to do is use acrylic paint. So,
1:21
I'll just put some paper down so I don't
1:23
get the paint on my desk because I'm not
1:25
a particularly tidy worker and I want to
1:27
get to the edges. And I'm just going to
1:29
use quite a small brush and literally
1:32
just color those shapes in. Now, I'm not
1:36
the best. And I'm going to go over the
1:38
lines. If that's a really stressful
1:42
thing for you, then I recommend using
1:44
the masking tape thing. But if you quite
1:47
like painting coloring in and you want
1:49
to try and stick between the lines and
1:51
you're not worried if you have a little
1:52
bit of a rough edge, then you can do it
1:55
this way. So, the reason I chose to do
1:57
it this way on the card was cuz I'd done
1:58
it the other way on my canvas and I like
2:01
to share different ways of doing things.
2:04
Um, this can also be really good to do
2:06
with children, getting them coloring in
2:08
and staying in the lines and doing
2:10
straight lines with their their
2:13
So, it's entirely up to you, but you can
2:16
see what we're going for is the big
2:18
blocks of color. I'm also doing it all
2:20
orange. Nothing to stop you going
2:24
I'm just really using it as a backdrop
2:26
to put some more detail on over the top.
2:28
I've also left the card closed, which
2:30
means there's a danger I'll get paint on
2:32
the back of the card. So, what you can
2:36
do is open the card up and and just
2:38
color on the front, and you'll be sure
2:40
you won't get any on the back then. So
2:42
again, these are all things that are up
2:44
to you. It's really important that you
2:46
do your crafting your way and you enjoy
2:50
So once it's dry, it's time to add some
2:52
detail. So I'm just using some black.
2:55
Again, colors entirely your choice. And
2:58
I'm just going to flatten it out just so
3:01
that I've got it ready to use a shape.
3:06
And all I'm using is the center out of a
3:08
toilet roll just to give me some nice
3:11
circles. Now, you could look around and
3:13
use what you like. Perhaps you've got
3:15
the top of a pot or a um what the word
3:20
I'm looking for? A bobbin out of your
3:22
thread, anything. But obviously, we all
3:25
tend to have toilet rolls around. And
3:27
then you're just adding that wherever
3:28
you like, as much as you like. You could
3:31
even squeeze the toilet roll and make
3:33
them not circular. So you could do a
3:37
And then I'm also going to get a little
3:39
bit of paint on the brush.
3:42
And just dab it on and give a little bit
3:45
more of the Oh my goodness. Right.
3:49
Emily's going to help with this card. I
3:51
hope nobody minds. She seems to think
3:53
she needs to be involved.
3:55
So we'll just have that little ginger
3:57
tail flicking and hopefully it won't get
3:58
in the paint. Equally hopefully she
4:01
won't knock the water over. You'd think
4:02
a cat would be very graceful. This one
4:05
could be a little bit clumsy. So, if
4:08
you're enjoying this card, please give
4:09
me a thumbs up. Oh, I think she's
4:13
Oh, maybe not. Um, so that it can spread
4:17
to more people and we can Oh, Emily,
4:19
really, we don't all need to see your
4:21
bottom. I think she's just hanging
4:24
around now. She's just trying to be
4:27
Maybe she's going to go. So, you could
4:30
leave it there. I mean, you could be
4:31
quite happy with that, but what I'm
4:32
going to do is add some watercolors in.
4:36
So, I'm just going to get a little bit
4:38
of watercolor and dab that on just to
4:40
add another layer, another bit of
4:44
detailing. So, you can see those little
4:46
dots that I'm putting.
4:49
And I've just gone for very similar
4:50
color to the orange acrylic to be
4:52
honest. I'm just adding more detail. And
4:56
this is where you're getting creative
4:57
and artistic. I'm not artistic at all
4:59
and I'm managing. So, you certainly can.
5:02
So, I hope you've enjoyed it and you
5:04
feel inspired and that you're going to
5:06
make your card using geometric shapes.