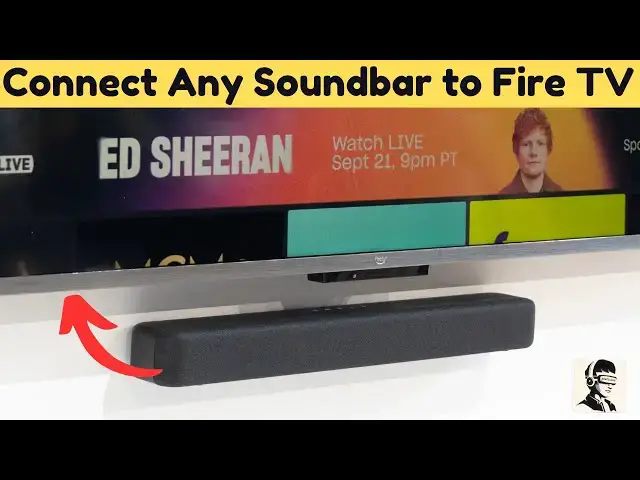
0:00
Your Fire TV looks amazing on screen,
0:02
but what about the sound? Maybe your
0:04
soundbar isn't connecting, or you're not
0:06
sure which cable to use. Don't worry. In
0:08
this quick tutorial, I'll show you
0:09
exactly how to connect your soundbar,
0:11
home theater, or TV speakers to your
0:13
Amazon Fire TV step by step using either
0:16
HDMI or an optical cable. No confusion,
0:19
no guesswork, just clear instructions
0:21
that work every time. First, make sure
0:23
your soundbar or speaker system is
0:25
properly connected to power. Once that's
0:27
done, choose your preferred connection
0:29
type. either HDMI ARC or optical, but
0:31
don't use both at the same time as that
0:33
can cause interference and result in no
0:35
sound. If you're using HDMI, plug the
0:38
cable into the port on your soundbar
0:40
labeled HDMI out or HDMI ARC. Then
0:43
connect the other end to your TV's HDMI
0:46
port that's marked as ARC or HDMI out.
0:49
ARC stands for audio return channel.
0:51
It's the special port that lets your TV
0:53
send sound back to your soundbar without
0:55
any extra cables. If you're using an
0:57
optical or tolink cable, plug it into
0:59
the corresponding port on both your TV
1:01
and soundbar. Just remember with optical
1:03
connections, you'll need to use your
1:05
soundbar's remote to control the volume
1:07
since your TV remote won't work in this
1:09
mode. Now, turn on your Fire TV and go
1:11
to the home screen. Navigate to inputs
1:13
and look for the HDMI port that's
1:15
connected to your soundbar. It should
1:17
light up automatically. If you're not
1:19
sure whether your connection is active,
1:21
press the settings button on your remote
1:22
and open the sound menu. If all the
1:24
internal speaker options are grayed out,
1:27
that means your TV has successfully
1:29
switched to your soundbar or external
1:31
audio system. This step is important
1:33
because sometimes your TV connects, but
1:35
still defaults to internal speakers.
1:37
Double-checking here ensures your audio
1:39
output is correct. If you don't hear
1:41
sound right away, don't panic. Simply
1:43
power off both your TV and soundbar,
1:45
then turn them back on. This helps
1:47
reestablish the connection and allows
1:49
your Fire TV to recognize the soundbar
1:51
again. If everything's working smoothly
1:53
so far, tap the like button. It helps
1:55
others find this tutorial and lets me
1:57
know to make more guides like this. For
1:59
the final step, go back to the settings
2:02
panel, then open display and sounds and
2:04
scroll down to audio output. Here you
2:07
can fine-tune your setup. If you're
2:09
using a 7.1 home theater, switch the
2:12
digital audio format to pass through for
2:14
cleaner uncompressed sound. You can also
2:16
choose Dolby Audio if your TV and
2:19
content support it or PCM for lossless
2:22
audio. For most setups, Dolby Audio
2:24
provides the best overall experience.
2:26
You'll also see an arc mode option.
2:28
Leave it set to auto so your TV can
2:31
handle the connection automatically. And
2:33
that's it. Your soundbar is now
2:34
successfully connected to your Fire TV.
2:37
Simple, clean, and reliable. If this
2:39
video helped you get your sound working,
2:41
give it a thumbs up. And if you're new
2:42
here, don't forget to subscribe for more
2:44
easy tech tutorials. Thanks for watching
2:46
and enjoy your upgraded sound