0:00
Guys, welcome to this uh video. So, in
0:02
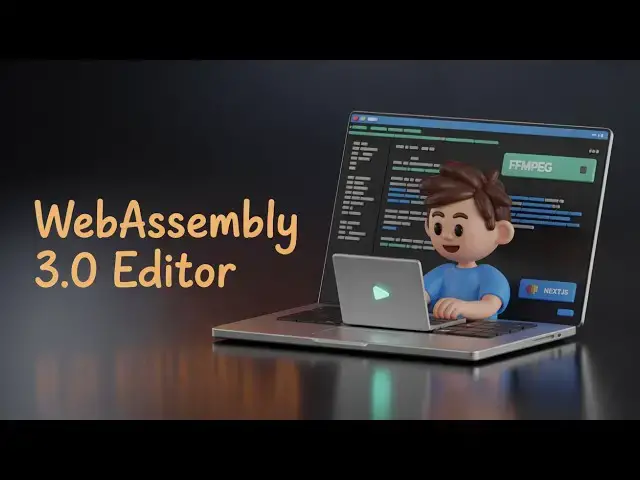
this video, I'll show you I built out a
0:04
video editor in NextJS uh using a web
0:07
assembly 3. Web assembly if you know
0:11
that uh it's actually a library which
0:14
allows you to use ffmpg web assembly
0:17
directly in the browser. So, they have
0:18
released their 3.0 version. So, I used
0:21
this latest version inside this nextjs
0:25
project which actually is a video editor
0:27
project. If you will see the here you
0:29
can edit your videos directly in the
0:31
browser. It's a single page application
0:34
This is the overall directory structure
0:36
of this project and it's actually using
0:38
this ffmpg web assembly library as you
0:40
can just see right here. It's also using
0:42
the latest version of next and react. If
0:45
you're interested in this purchasing it
0:47
I've given the link of the project uh
0:49
you can directly purchase the source
0:51
code after you get the source code from
0:53
Google drive. So we are running this
0:56
project locally. So let me first of all
0:58
show you the actual demo. You first of
1:04
You can create multiple projects. Uh you
1:07
just give it a project name. Click on
1:11
After that you will be redirected to a
1:13
timeline based editor. So here you first
1:15
of all select your video file that you
1:17
want to get added. So you basically add
1:22
and then we have these you can add text
1:25
images you can cut your video directly
1:28
using this timeline. Let's suppose I
1:30
only want to cut the first 6 seconds. So
1:32
I will simply click the split button. So
1:34
it will divide the video into two parts.
1:36
And now this part I don't need. I can
1:38
simply delete this. Here you can also
1:41
change the properties of the video such
1:43
as the volume, the width, height,
1:45
everything. And then you can even add
1:48
text as well. So you will just see here
1:52
how easy it is to actually add the text
1:57
Then you also have the option to
1:59
actually change the text here. Color
2:07
and here you can even change the
2:08
position here. X Y position everything.
2:13
Same goes with the images as well. So
2:15
you select whatever image file that you
2:26
and then you can adjust the width and
2:29
the height of the image as well. So
2:30
simply place at whichever location that
2:34
you want to. So everything is you can
2:36
control here. And lastly, if you want to
2:38
export this video, you click the export
2:40
button and then here you can manipulate
2:43
the resolution, quality, processing
2:45
speed of the video. And then it will
2:48
show you this fmpg progress bar. So it
2:52
will exactly tell you how much time is
2:54
remaining. So it is processing your
2:56
video frame by frame. And this is
2:59
actually using this web assembly 3.0
3:02
version inside this next year.
3:06
So if you're interested uh you can
3:09
actually get this full source code. You
3:11
can add more features on top of this
3:13
video editor and you will get to know
3:20
So it's actually a single page
3:22
application. It doesn't have a back end.
3:24
So it's running directly in the browser.
3:34
So once it completes you will actually
3:37
see the output video containing all your
3:46
So each and every project have a unique
3:48
ID. So you can create multiple projects
3:50
here. So I showed you earlier.
4:09
So now it completes. Here you will see
4:11
this is your output video. So in this
4:13
easy way you can even download as well.
4:15
This is your output video which has been
4:18
created edited the text and the image.
4:23
So if you like it the link is given in