0:00
Uh hello guys, welcome to this video. So
0:02
in this video, I'll show you how to
0:03
rename or change the PC or laptop name
0:07
inside your Windows 11. So just go to
0:10
the settings menu in the start menu.
0:12
Just type settings and after that you
0:15
just need to go to right here which is
0:17
system settings in the left hand corner
0:19
of the screen. After that just drag down
0:24
and uh simply go to this about section.
0:28
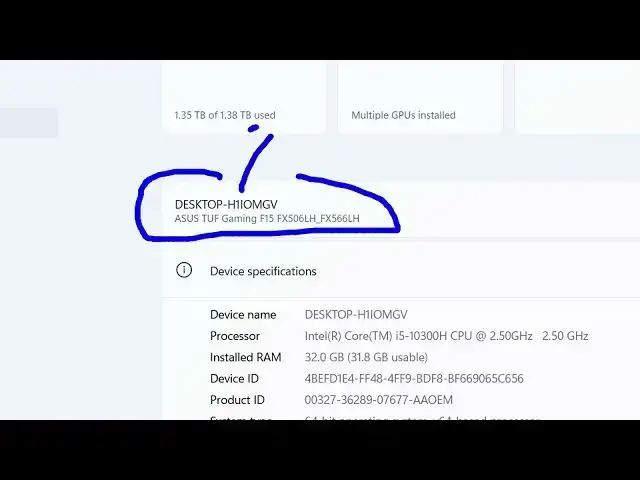
Simply click on that. After that you
0:30
will get this option. This is your
0:32
default name to my PC. If I want to
0:35
customize this name, there is this
0:37
option right here. Rename this PC.
0:39
Simply click on that. And here you need
0:42
to mention your custom name. This is
0:44
your current PC name which is given by
0:47
default. If you want to customize it,
0:49
simply give a custom name here.
0:56
After giving this custom name, simply
0:58
click on next and this will
1:00
automatically restart your computer. You
1:02
just need to restart the computer after
1:04
clicking next. This will customize the
1:06
name here. Change this from this to
1:08
this. Just restart your computer after
1:11
clicking next. And this will rename your
1:13
PC. This that's all that we need to do.
1:17
And also check out my website
1:21
uh which contains thousands