Up next in 10


In this video, I review the Obeamiu 2 Pack LED Video Light with 63'' Tripod Stand.
Check it out here: https://amzn.to/3QSfqHr
DISCLAIMER: This video and description contains affiliate links, which means that if you click on one of the product links, I’ll receive a small commission. This helps support the channel and allows us to continue to make videos like this. Thank you for the support!
Show More Show Less View Video Transcript
0:00
So I just got this Obimio 2-pack LED lights with tripod stands
0:04
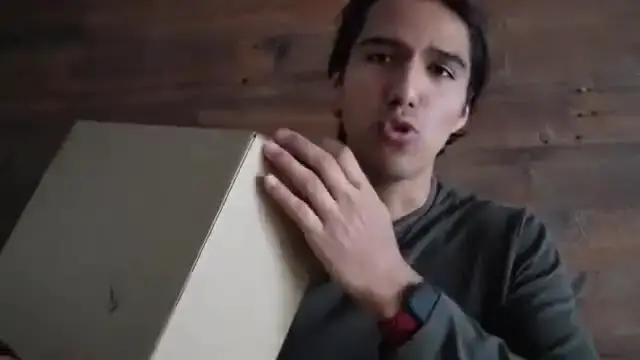
So I just want to do a quick unboxing and first impressions of it. So here's all the stuff that comes in it
0:09
And right in this baggie, we're going to have this black cloth. And there's also going to be this part for the tripod
0:15
This other part, same thing. And then two outlet adapters. Some instruction manuals
0:20
And finally, the pouch itself. Just go ahead and carry everything. We're going to have the tripods
0:24
And finally, the lights themselves. And these things are massive. And here's what the back looks like
0:30
And right here is going to be the cable to go ahead and attach to the power. And right here is to go ahead and control it
0:34
So here's a closer look at the tripod. And this thing is actually pretty cool. Just because to open it up, it goes ahead and kind of inverts like this
0:43
So it definitely saves a lot of space when actually storing this. And so now it's all the way down
0:47
So I can go ahead and just tighten that. So it does have this part here that I can just go ahead and unscrew
0:52
That's like just a little cap to protect it. And I can screw this into place
0:56
And now I can screw in the light as well too. And this is going to go ahead and kind of move back and forth like this
1:02
It's because I have to go ahead and just tighten this bottom part here. And there now it's nice and secure
1:07
All right. So here's the light all set up. And what I actually end up doing is connecting them to my power bank instead just to make it more mobile
1:14
So I can go ahead and move it around a lot. And yeah, the light isn't so good right now
1:19
So when I go ahead and shine the other one on, you can see a lot more clearly
1:24
And now taking a look down below at the remote itself. We're going to have a few options up on top and this one is just going to be for brightness
1:33
right here we're going to power it on and then this is going to be for the modes so right here we going to have the yellow lights so 2500k 5500k and then 8500k and now this does get a lot brighter but let me just face it to the wall uh so this is actually the dimmest setting all right so here you can see the wall now and then uh as i go ahead and increase
1:55
it it just gets a lot brighter and i believe yeah this is as bright as it gets and here you can see
2:01
it just blinds the camera and again it's 8500k 2500k 5500k and this 5500 would probably be my
2:09
favorite. All right so here I have both lights and this is what it looks like without the light on me
2:13
so it's pretty dark in here and then with the light on me and right there it just goes ahead
2:18
and brightens it up and it's not too harsh on my face it looks pretty nice. You could see a little
2:22
bit of white over here so I might have to bring it back a little further and now changing the modes
2:27
over here so right now it's going to be again my favorite mode this is going to be like the mix
2:31
so it's going to be the 5500 Kelvin and then right here it's going to be the full white light or blue
2:36
light, whatever you want to call it. This is just way too harsh in my opinion. This is way too yellow
2:40
and just like Goldilocks, this is just right. And of course, I can go ahead and make it brighter
2:44
Right now, this is going to be the dimmest setting. So one above. Yeah, as you can see
2:49
this is going to be a little bit too much, too bright for me and I can, you know, barely keep
2:54
my eyes open fully because it's so bright. So let me go ahead and dim it down. So yeah, overall
2:59
I'm definitely a fan of the lights. I'm excited to start using these when I go ahead and just do more recordings. I'm glad I got this one just because it's really big. And one thing I do want
3:07
to do to make it even more mobile and not rely on like a power source or even this big. I just
3:15
dropped this and it's still okay by the way. But as I was saying, one thing that I think would be
3:19
cool to add to these, just to make it more mobile instead of having it with the power outlets right
3:23
there or my big portable charger, you just get some tiny portable chargers and just Velcro it
3:28
over here so I could just, you know, move them out and about and I don't have to worry about all
3:33
these wires over here and potentially moving it
#Computers & Electronics