0:11
hello guys of Tony here welcome to
0:13
another video tutorial first like always
0:16
I want to thank you for watching this
0:18
video Lesson and in this tutorial we're
0:21
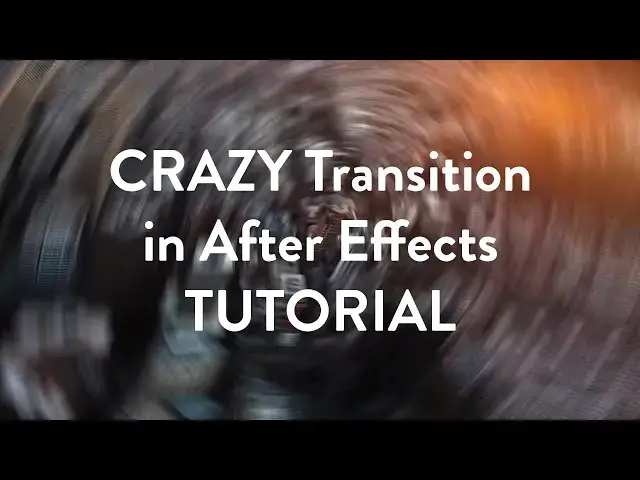
going to create this awesome and cool
0:24
transition here in After Effects also if
0:28
you haven't subscribed to my channel hit
0:29
that subscribe button uh also turn on
0:32
this Bell icon so you can always be
0:35
notified whenever I post a new clip so
0:38
let's see what we will create today
0:51
thank you all right here we are back in
0:54
After Effects and as you can see I have
0:57
already created this transition
1:00
composition and I have already imported
1:02
this Media or one and media O2 and put
1:06
them into composition you don't need to
1:08
do this but you can also just import
1:12
your footage go file and then import
1:14
file find your footage from a specific
1:17
place from your PC and just drag and
1:20
drop here in Timeline okay next thing
1:23
what we're gonna do is to create a new
1:25
solid layer go here and then hit new uh
1:30
we will do adjustment layer no solid
1:32
layer and we will rename it
1:39
okay uh move the this transition to the
1:43
left we will maybe do around two seconds
1:46
for this transition something like this
1:49
hit V on your keyboard and move it here
1:53
something like this in our timeline
1:56
alright first effect that we're going to
2:01
transform effect uh go and find here in
2:05
FX and preset if you can't see these
2:08
effects and preset go window and then
2:11
check here this effects and preset panel
2:14
okay just drag and drop this effect here
2:18
in our transition adjustment layer all
2:21
right something like this okay we can
2:24
lower this just a little bit something
2:28
nice okay and first thing what we're
2:31
gonna do is to move our playhead here on
2:36
transition and then hit a keyframe for
2:39
this skew parameter and then go maybe
2:42
around uh one third of this adjustment
2:47
layer and then type 15. also then go uh
2:52
on the end of this adjustment layer and
2:57
next thing what we're gonna do is to hit
3:00
you on our keyboard grab all those
3:03
keyframes hit F9 on your keyboard and go
3:07
here to make a curve like this
3:14
now when we hit zero in our timeline we
3:17
have something like this this is just
3:20
first part of this tutorial and next
3:23
effect that we're going to create to use
3:25
is motion tile all right drag this Above
3:30
This transform effect and we will do for
3:33
output width and height 300.
3:43
something like this and also do here
3:46
check this mirror edge box
3:51
okay next thing what we're gonna do is
3:55
to rotate this our media go here on
3:59
rotation hit this stopwatch icon and go
4:04
hit also W on your keyboard to see all
4:07
keyframes and go at the end of this
4:10
adjustment layer and type here on
4:16
and next thing what we're gonna do is
4:18
also to grab those two keyframes and
4:22
then also hit F9 on your keyboard go to
4:24
graph editor and draw a curve like this
4:28
now when we get back here in our
4:31
timeline uh just move this first
4:34
keyframe somewhere around this keyframe
4:38
of this rotation okay now when we hit
4:41
zero we have we have this
4:44
really cool transition
4:46
final step in our tutorial is to also uh
4:50
turn on this motion blur just hit here
4:53
to turn to enable motion blur and also
4:56
here to enable motion blur for this
4:59
adjustment layer transition okay now
5:03
when we hit zero in our keyboard we get
5:06
this really really cool transition
5:14
all right guys that was everything for
5:17
today's tutorial I hope you liked this
5:20
video and I hope you learned something
5:23
new uh if you haven't subscribed to my
5:26
channel hit that subscribe button and
5:28
also turn on the Bell icon so you can
5:31
always get notified whenever I post a
5:33
new clip also take a look on my channel
5:36
for even more great tutorials and until
5:39
next time stay creative and bye bye

