0:01
in this video I'm going to show you how
0:04
to use the high pass filter with your
0:05
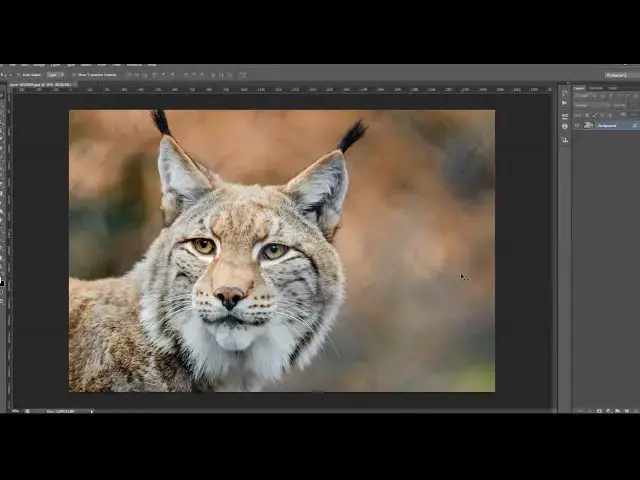
photography's okay I'm going to use this
0:08
photo here as an example for
0:10
demonstration so the high pass filter
0:13
can be found here go to the filter other
0:16
high pass okay and here what you can
0:19
change actually is the radius okay you
0:21
also got the preview option here if you
0:23
checked you will be able to see the
0:25
preview over here and the high pass can
0:29
be used for creating a lot of different
0:32
results they're going to show you a few
0:35
of them and what the high pass filter
0:39
actually does is you can see here it
0:41
will gray out all the all the areas
0:43
except the edges and it's actually great
0:47
when you want to create the sharpening
0:50
effect as you can sharpen up the edges
0:53
and leave other areas and touch okay
0:55
so the high pass filter is actually most
0:58
used for sharpening the photo so that's
1:00
what I'm going to show you first so go
1:05
to castle here we have two for
1:07
sharpening effect you have to duplicate
1:08
your original background layer so go to
1:10
right-click and choose the duplicate
1:12
layer - okay now go to filter other High
1:16
Pass so now you have to choose the
1:19
radius this really depends on your photo
1:21
so you just have to take a look here at
1:24
the preview and see which value goes the
1:26
best with your photo and with creating
1:30
the wrapper effect usually I use the
1:32
smaller values at like this okay so
1:34
that's gonna click okay now what you
1:38
have to do is to change the blending
1:40
mode and I usually use these five
1:43
blending modes here okay and each one
1:46
will create a different sharpening
1:48
effect okay some blend mode will make
1:50
more sharpening some less so just have
1:52
to experiment so see which one goes the
1:56
better your photo and also depends what
1:59
kind of sharpen you wish to at your
2:01
photo so this is the only okay you see
2:11
okay so I'm gonna use the linear light
2:14
this is gonna click okay and they're
2:16
just gonna click on the word opacity and
2:18
drag it the left side so I just lowered
2:21
the sharpen amount a little bit so
2:23
actually now here by Wong this cursor
2:25
here you can actually control the amount
2:28
of sharpen so if I drag this to zero
2:30
it's actually this layer will not take
2:33
any effect it will be the same as you
2:34
don't have the layer it will not add in
2:37
sharpening and if you move one hand you
2:39
will see you have a lot of sharpening so
2:41
just gonna use some lollies like here
2:43
okay you can see the before and after so
2:47
you can really create a great sharp in
2:49
fast just a second and what you can do
2:52
then also add the layer mask I'm just
2:55
gonna take a brush tool soft brush set
2:58
foreground color to black and just brush
3:00
here over the background quickly so I
3:04
remove the sharpen from the background
3:07
sharpening to the subject so when it
3:11
turned off and on the layer mask you see
3:14
the difference okay so I will delete
3:18
this layer now and they're gonna
3:19
duplicate again and now I'm gonna show
3:24
you how can you soft do your photo so
3:27
just go to filter other high pass again
3:29
and now I'm gonna use some larger values
3:33
like something like here okay this is
3:36
gonna click OK and change blending mode
3:40
okay and well this layer is selected
3:43
just go to image adjustments and choose
3:45
invert and you can see the difference
3:49
how to something out your photo and
3:54
actually this is the color mode there
3:58
goes the best when you reach this often
4:01
the photo so you can also change the
4:03
opacity here okay I'm gonna leave it
4:06
like this and they also gonna add a
4:08
layer mask and just brush with the black
4:10
or the areas that they want to be
4:11
softened that they want to be sharpen
4:14
details like this okay so you can see
4:22
let me toast 100 okay so we also here to
4:28
experiment with radius it depends how
4:31
much something you wish to add so if you
4:36
still make more sell photos then choose
4:39
the larger radius okay
4:41
and I going to duplicate the original
4:44
layer at the background layer again and
4:46
go to filter other High Pass okay and
4:50
now again I'm going to use some larger
4:52
values okay something like this so just
4:58
gonna click OK and not just going to
5:01
change the color mode overlay and just
5:05
lower the opacity a little bit and
5:06
actually what you get on this way when
5:08
you use larger values with radius you'll
5:11
actually give the Charpentier photo and
5:14
also enhance the contrast you can see
5:16
the difference you can also play now
5:18
with these blending mode okay soft light
5:21
will create a last contrast than the
5:24
Orlais just gonna lower it like this
5:30
again you can use the layer mask to
5:33
remove the sharpening contours from the
5:35
background for example like I will do
5:38
now here okay so you can see the before
5:44
and after and I'm pretty much happy with
5:47
this effect so I hope you understood
5:49
everything and thanks for