0:00
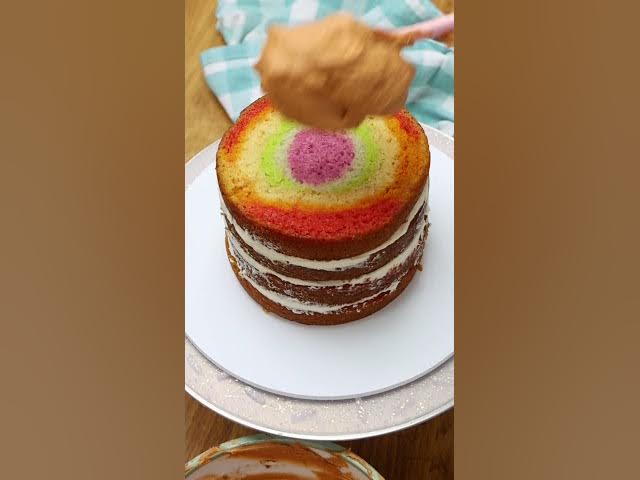
For this cake, you'll divide your cake
0:01
batter between six different bowls and
0:03
then add food coloring to each one to
0:05
make the colors of the rainbow. Then
0:07
pour the colors one by one in rainbow
0:09
order into greased cake pans and you'll
0:11
see the colors fan out in rings, which
0:13
are really fun to cut into later. I
0:15
really enjoyed watching these cakes
0:17
bake. Trim off the tops to reveal really
0:19
bright colors underneath. And then to
0:20
make your cake, attach the first layer
0:22
with a dot of buttercream so it doesn't
0:24
slide around on the cakeboard. And then
0:26
layer your cakes with buttercream
0:27
filling or whatever other filling you
0:29
want to use. For the outside of this
0:30
cake, I added melted chocolate to my
0:33
4-minute buttercream and also some
0:34
orange food coloring to turn it into a
0:36
brick shade. And as always, I started
0:39
with a crumb coat, which is a really
0:40
thin layer of frosting that covers the
0:42
cake and traps any crumbs. And then you
0:44
put that in the fridge for 15 minutes to
0:45
set before spreading on your final layer
0:47
of frosting and get this really smooth
0:49
with sharp edges at the top. To create
0:51
brick texture, I used a zigzag cake
0:53
comb, which imprinted the lines of the
0:56
bricks. And then I used the narrow end
0:58
of a petal-shaped piping tip to carve
1:00
the buttercream to make the lines
1:02
between the bricks. This part took quite
1:04
a long time, but it was really
1:05
satisfying to see the brick texture come
1:07
together. Okay, graffiti time. I looked
1:09
up lots of different designs online to
1:11
find a style that I liked and ended up
1:13
with this blended color design which I
1:15
made using clear almond extract mixed
1:18
with gel food coloring to make an edible
1:20
delicious paint. I'll show you how to
1:22
make this cake topper in another video.
1:23
And there it is. What do you think?
1:25
Follow British girl for more cake