0:00
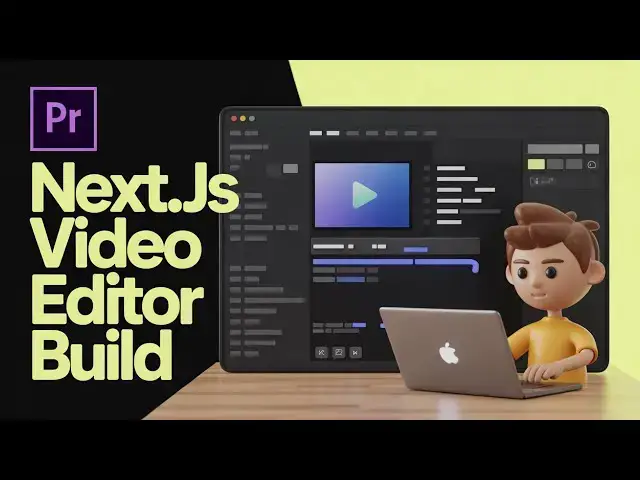
A I basically built a Adobe Premiere Pro
0:02
clone video editor directly in our NexJS
0:07
and it can be a great clone. So Adobe
0:09
Premiere Pro it's a very popular video
0:11
editing software which is created by
0:13
Adobe but I created a clone of it
0:17
directly inside NextJS which directly
0:19
executes it in the browser. So we are
0:23
So as you can see this is a complete
0:25
NexJS project. You can directly purchase
0:27
it. I have given the link in the
0:28
description of the video. So once you
0:30
purchase it automatically all the source
0:32
code will get downloaded from Google
0:33
drive. All the files as you can see it
0:36
is coded inside Typescript. So each
0:38
component is divided into its
0:40
appropriate file. So we we are using as
0:42
you can see next.js react the latest
0:45
versions and also we are using ffmpg web
0:48
assembly library. So this is the actual
0:51
interface. So here you select whatever
0:54
video file that you want to edit. So
0:57
once the video is selected automatically
1:01
the timeline will be created and here
1:04
using this nice little timeline you can
1:07
basically cut any sort of portion of the
1:10
video just select it using the timeline.
1:12
So now I just want to cut these uh 6
1:16
seconds. So as you can see the starting
1:18
time also changes as you move the
1:20
timeline. This is the starting time.
1:21
This is the ending time. And this is the
1:24
duration. So now now I just want to cut
1:26
this 6 seconds. And in the dropdown you
1:29
can even change the quality as well.
1:31
Compress the size of the video as well
1:33
or create animated GIF. So or you can
1:37
even remove the audio as well. So
1:39
everything is possible. Click on start.
1:41
So once it does it all the processing is
1:44
doing inside the browser. So no back end
1:47
is there. It's a single page
1:50
NextJS project. So it's fmppg is doing
1:53
the processing directly in the browser
1:55
second by second. So once it completes
1:58
it will show you the download button
1:59
where you can download the video. So
2:02
it's really simple as you can see the
2:04
video is created and you also get a
2:07
download button. So it's a complete
2:09
NexJS project guys. If you are looking
2:11
forward for purchasing the link is given
2:14
in the description and just click the
2:16
buy button. very simple to
2:19
uh run the project and also deploy this
2:22
as well. So this is the overall project.
2:24
These are all the files which are there.
2:26
These are different components of the
2:28
project. Progress bar, video details,
2:30
video format, input, icons, everything.
2:34
So we are using uh ffmpg web assembly
2:37
library. If you want to see as you can
2:40
see inside this ffmpg all the binaries
2:43
are loaded and it is present ffmpg web
2:46
assembly library. So this is doing all
2:48
the uh video editing for us and also we
2:52
have a second option as well if you also
2:54
want to record your video directly in
2:56
the browser. We also have the second
2:58
feature as well which is record screen.
3:01
So here you can select whatever screen
3:03
recording you want to do and
3:06
automatically all the screen capturing
3:08
will be captured. Then you click use
3:10
recording and after that all your video
3:13
will be recorded and again you click the
3:16
start button or you can even make
3:19
animated GIF file as well. So it's very
3:22
simple. Click on start and then it will
3:25
automatically show you the progress bar
3:28
as well. So it's a single page
3:29
application. Now your GIF file is
3:31
successfully created. Then you can
3:33
download this as well. It's very simple.
3:36
It also does the screen recording for
3:38
you. It's a really good Adobe Premiere
3:44
It does the basic video editing for you.
3:46
You select the video and using the
3:48
timeline you can actually control
3:50
whatever cut operation that you want to
3:53
perform. So if you are interested, the
3:56
link is given in the description. You
3:58
can directly purchase it this in next
4:01
Hello guys, welcome to this video. So in
4:02
this video I will show you a Canva clone
4:05
remove background from image kind of a
4:07
offline editor that I developed inside