0:00
This is what we found this morning
0:03
We received the new Chick Cozy incubator. If you'll remember, last year we did a review on their incubator
0:10
We just got our new Chick Cozy incubator. They just released it this past month
0:16
Along with some other people, other chicken keepers, they had asked to try it for our recommendations to improve it
0:22
So we all answered their questionnaires, and they have improved it. They wrote to us and asked us if we would do a review of the improved version
0:30
So what we're going to be doing is unpacking this one today, and then we're going to be doing a side-by-side comparison to the two
0:38
We're actually going to hatch chicks in both of them. Oh, yep
0:42
They had this in there last time, which I thought was really great. If you candle your chicks, your eggs, it tells you what they should look like
0:50
and some handy charts. So they still have that in there. That's nice
0:56
The box looks pretty much the same, so let's see
1:47
our flocks, we went to a lady in our area who has purebred Speckled Sussex, she has a Sussex rooster
1:56
and copper morans. She had some others, but these are the ones we decided we wanted to go with
2:01
because you know Speckled Sussex is my favorite breed. But anyway, so that's where we got our eggs
2:07
from to get started with. You can order from the hatchery, or we personally just like to do things
2:12
locally as much as we can, because you can see the birds, and that's just how we do things
2:17
but you do what works for you. Now we're going to add the eggs to the incubator
2:22
Now be sure when you add your eggs your trays are upright because this has an automatic turner and then maybe to the side be sure they upright and You going to put the pointed end and like in this egg
2:35
It's kind of hard to tell but there is a definite little point there or the blunt end some people call that down and
2:42
The reason I'm gonna start in the middle and the reason we do that is because as the embryo is forming in there
2:49
It's gonna be forming in this end and there's an air sack down here
2:53
and that's just the natural growth. Now I get asked a lot about why do I have to do it this way
3:01
and when the mother hen does it she turns them all the time. Well that's because she's the mother hen
3:07
and we're not so this is the best way for us to do it and we have an article in the farmer's lamp
3:13
on incubating your eggs and there's all kinds of information in there so you go check that out
3:18
we're gonna get these loaded. We plugged both into bears in and they have both reached the right
3:23
temperature and they are at 40% humidity. Now we like to run ours at 60% but 40 is the lowest to
3:32
add eggs to the machine. There's a debate in the chicken keeping community about this first stage
3:38
of humidity. 40 to 60% is is a good range. We like to go 60 until we get toward the end. Most of the
3:47
time you know it's based on your outside weather when your hens are hatching. Now
3:52
you may when you plug your incubator in add water to tray A. It's down here. I'm
3:58
not gonna pull it out because I don't want the water to slash out, but it's down here and you add water to tray A. If it doesn't rise up enough then you're going
4:07
to add some more to tray B. Now we had to do that because our humidity is low here
4:12
today so I wanted it to rise faster than it was doing because the temperature was
4:16
ready and I'm ready to get these eggs in there you want to do a day reset I don't know about
4:23
other incubators because this is on the second one we've ever used but you want it to be at 21
4:28
days because that's your how many days it's going to take your eggs to hatch so on this one we hold
4:34
the day and the up arrow and it's going to reset. So now it's on automatic turning and day 21
4:46
Okay and we're going to leave it alone so the temperature climbs back up. And we're done
4:52
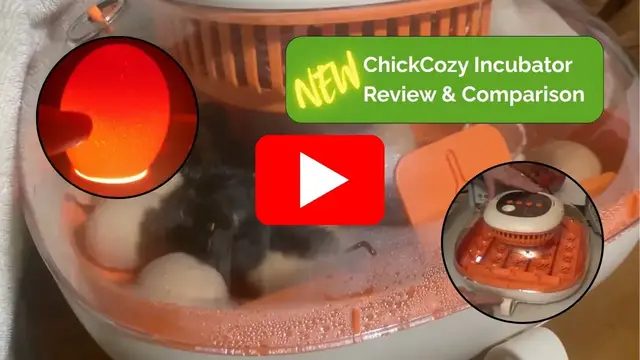
Start comparison of the old Chic Cozy incubator and the new version The main difference was that they added two trays inside One in the front and one in the back where you could add water to increase the humidity The hatch rate
5:06
and everything was about the same as the old one. You could, we did manage to put water, when we put
5:13
water in all the trays, we got the humidity up to 81. You can do that in the old one if you put a wet
5:19
rag in there and we did that it got up to 82 i think at one time we like to run the humidity 80
5:27
to 90 we prefer closer to 90 we couldn't get either one of them up that high but so overall
5:34
it's just about the same as the old version it was successful as you can see so we have we have
5:41
some healthy chicks here so there you go see this one probably wasn't even fertilized because
5:49
if it had died in the first seven days there would be a ring in there and there's nothing
5:56
that's just an egg so we're going to take that one okay this one has a chick in it
6:01
you can see the very dark lines and it's funny because you can see him moving her moving it moving
6:09
so that's pretty cool this one is what we call a quitter it died somewhere between day seven and
6:19
And today, I don't know if you can see in the video, but there's a darker line that runs right here
6:26
And it's just a cloud floating around in there. There's no blood vessels
6:31
There's no movement. So that's what we call a quitter. Moving around