Up next in 10



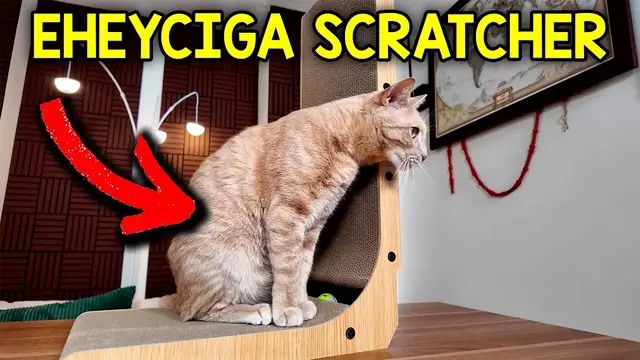
Does My Cat Like The EHEYCIGA Cardboard Cat Scratcher?
Show More Show Less View Video Transcript
0:00
Alright, in this video I'm gonna do a quick unboxing and assembly of this cat scratcher by E-Hey Siga
0:08
Alright, so inside we have these two angled wood pieces, these two straight pieces, an instruction manual, the ball and hardware, and the cardboard itself
0:20
Alright, so the first step is to connect these two pieces together, and we're gonna be joining this piece with this piece
0:26
and notice how this one has this notch at the bottom. It's going to be very similar to this one over here
0:31
but this one doesn't have the notch. We're just going to put them like so
0:35
and then grab this wooden piece and place it right on top
0:38
and then screw it in with these plastic screws. So this just can be stabbed right through here
0:44
and I'll just put a few of them inside. Make sure this is aligned straight
0:51
Just like that. Oops. and by the way make sure that the curvature of the wood matches with the curvature of the
0:58
cardboard here and now I can screw it in with the included flathead screwdriver
1:03
all right there just like that and now it's time to attach that third piece which is going to be
1:13
this one here and I'm going to line it up just like this and we're going to attach this piece
1:22
right on top and then do the same thing as before with the plastic screws. And then to make it easier
1:31
to line it up, I'm going to start all the way on this side over here. And there, just like that
1:40
And now we can flip it to the other side and we're going to screw everything in again. Now beforehand this ball with that metal part can go right inside here So this just gets dropped right in there And that attach everything again So this goes right here and this goes right here
2:02
All right there, this first part is done. Now it's time for the second part. Now we'll go all the way to the end over here. Make sure this is flush
2:16
There, just like that. All right, and there it is. And we got that ball right over here
2:20
and this is not going to come off. And this also does come with some extra stuff
2:24
like an additional plastic screw, and also these 3M double-sided adhesives. And this is going to be for the bottom
2:31
in case you want to put it. But for now, I'll just leave it as is. And let's see if my cat likes it
2:36
All right, so let's see if Tiger likes it. So, let's go
Computers & Electronics