
How to use the Clone Stamp tool to hide distractions or remove objects from a photo in Photoshop
Aug 31, 2024
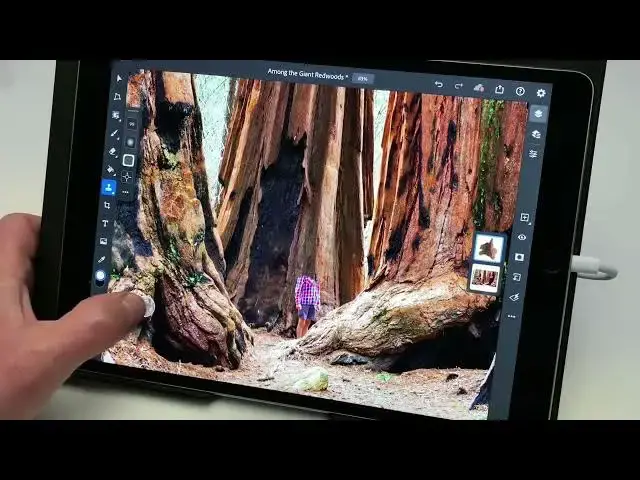
In this video we will learn how to use the Clone Stamp tool to hide distractions or remove objects from a photo in Photoshop for iPad 2022 - www.easy-tutorials.com
What you learned: Retouch images non-destructively by using the Clone Stamp on a separate layer
Add an empty layer for retouching
Retouching on a separate layer allows you to modify your changes if necessary, protect your photo from direct changes, and quickly compare the retouched version to the original image.
Tap the Add Layer button (the plus symbol) in the taskbar on the right to add a new, empty layer above the main image.
Long press on the Spot Healing brush in the Toolbar to reveal the tool fly-out menu, and choose the Clone Stamp tool.
In the Tool Options bar, tap the three dots and set the Sample menu to Current and below. This allows you to sample detail from the underlying image and add it to the new layer above the photo.
Set other options for the Clone Stamp tool
Choose a Brush Size that is slightly larger than the area you need to retouch.
Choose a low Hardness setting to create a soft-edged brush that blends the retouched area with the rest of the image.
If you have to retouch close to a hard edge in the image, try a higher Hardness setting.
Set Opacity to 100% to completely cover up detail. Experiment with lowering the Opacity setting in other retouching situations.
Set the sample source
Show More Show Less