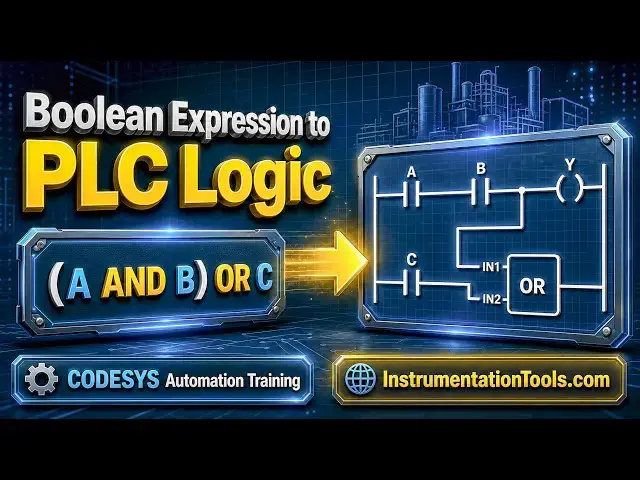
0:05
Hello everyone, welcome to automation
0:08
community. Today in this video we are
0:11
going to discuss an example in which we
0:14
will be drawing ladder diagram for
0:16
boolean expressions. So let's look at
0:22
Example 12. Y1 is equal to a1 dot b1 +
0:28
c1. And then we have y2 is equal to a2
0:32
b2 dot c2 + d2. So for the first boolean
0:36
expression the output is y and there are
0:40
three inputs a1 b1 and c1. So firstly
0:48
are will be connected in series. So
0:52
there is iron logic gate between A1 and
0:55
B1 and then C1 will be connected in
1:03
and then we have one more boolean
1:04
expression Y2 the output Y2.
1:09
So for output Y2 B and C will be
1:13
connected in series and then T will be
1:16
connected in parallel to B and C and
1:19
then A will be connected in series with
1:23
BC + D. So let's start with the first
1:28
A1 B1 + C1. So A and B will be used as
1:33
normally open contact and will be
1:35
connected in series and then C will be
1:38
connected in parallel. So let's move to
1:40
codices where we will draw a ladder
1:42
diagram for this example. So I will open
2:15
So firstly we need to create a new
2:17
project. Create a new project. Click
2:21
and then we need to name give name to
2:23
this project. Let's say example
2:26
12. And we can also select template as
2:29
standard project. We can also select the
2:31
location where this file will be saved.
2:40
After that you can select device from
2:42
this drop-own list and you can also
2:45
select the PLC programming. So for now
2:47
we are using uh ladder logic diagram.
2:50
Okay. So click on okay.
3:06
So go to PLC programming here double
3:08
click on it. So here we will be drawing
3:11
gladder diagram. So firstly we have a
3:14
dot a1 b1. So we will insert two
3:19
normally open contacts that will be
3:21
connected in series. So this will be a1
3:35
Okay. So, let's delete this one.
3:42
And then this normally open contact will
3:52
After that we will be using uh another
3:55
normally open contact that is plus D1
3:59
sorry plus C1 that will be connected in
4:03
parallel with this. So for that we will
4:06
delete this B1 for now. Let's delete it
4:09
and add a normally open contact here in
4:12
parallel and this will be C1.
4:17
And let's insert here a normally open
4:26
Okay. And after that we will insert a
4:28
coil here. That will be for Y1.
4:34
Okay. So Y1 will turn on when either A1
4:38
and B1 are on or C1 is on. So
4:44
either both of the A1 and B1 should be
4:46
on or only C1 should be on. Okay. So
4:56
Go to online and start simulation.
4:59
And after that we can log in here.
5:07
After that we will start here.
5:10
So as you can see here y1 is off. So
5:13
turn on y1 we will turn on a1. So when I
5:17
will click here when the true appears
5:19
here then go to debug and write values.
5:22
You can see here a1 is true but y1 is uh
5:26
doesn't turn on. So to make it true we
5:29
need to turn on a1 as well as b1. So we
5:34
turn on b1 as well. So let's go to debug
5:38
and write values. And you can see here
5:40
the signal passes through these two
5:42
contacts. As both the contacts A1 and B1
5:45
are true, as a result, this Y1 gets on.
5:49
And then we will turn both the inputs on
5:53
and we will turn on C1. Let's see what
5:55
happens. We'll go to debug and write
5:58
values. You can see here Y1 gets on. So
6:02
either a1 and a b1 both should be on or
6:08
And now we have one more boolean
6:10
expression that is y2 is equal to a2 b2
6:13
dot c2 + d2. So we have four inputs a2
6:17
b2 c2 and d2. So in this case we will
6:21
connect b and c in series and then
6:23
connect d in to parallel with b and c
6:26
and then we will connect a in series.
6:30
So let's move to codices. Okay. So we
6:34
need to insert normally open contact A
6:40
and then this will be A1 uh sorry A2.
6:44
Okay. And this will be B2. And we need
6:53
uh parall to A and B both uh like this.
7:03
a normally open contact in parallel with
7:06
this uh with this A and B. So this is
7:12
Okay. And then we will insert one more
7:17
uh uh sorry contact that is for D2.
7:24
a dot uh so a dot a2 dot b2 plus c2 dot
7:30
d2 and then we will insert a coil
7:34
and this coil will be y2.
7:37
So for y2 to be on d2 should be always
7:57
and this is D2. Okay. So for output Y2
8:02
to be on, A2 should always be on and
8:05
then there is a choice. There is an or
8:08
either C2 and B2 both should be on or D2
8:12
should be on. In short, either C2, B2
8:16
and A2 should be on or D2 and A2 should
8:20
be on. Then only Y2 will be on. So let's
8:25
generate code. Go to online and start
8:36
Okay. So we need to turn on A2.
8:40
Sorry, we'll turn on firstly B2 and C2.
8:44
Let's debug it and write values. You can
8:47
see here Y2 doesn't turn on. So A2
8:51
should be always on. So when we will
8:53
turn on A2, let's go to debug and write
8:56
values. You can see Y2 turns on. And if
9:04
go to debug and write values, Y2 got
9:07
off. Or similarly if I turn on uh if I
9:11
turn on B2 but turn off C2
9:16
then the output will remain off. So
9:19
instead of C2 and B2 we can only uh turn
9:22
on D2. I will turn on D2 and turn off B2
9:27
and turn off also A2. What will happen?
9:31
Y2 will not turn on because A2 is off.
9:34
So A2 should always be on. So that the
9:37
output Y2 will be on. So I will write
9:40
values and you can see here Y2 turn on.
9:43
It was all about this example. Thank you