0:00
hello guys soft Tony here welcome back
0:02
to this brand new After Effects tutorial
0:04
and first if you haven't subscribed to
0:06
my Channel please hit that subscribe
0:08
button and turn on the notification Bell
0:10
so you never miss any of my future
0:12
content and in this tutorial we're going
0:14
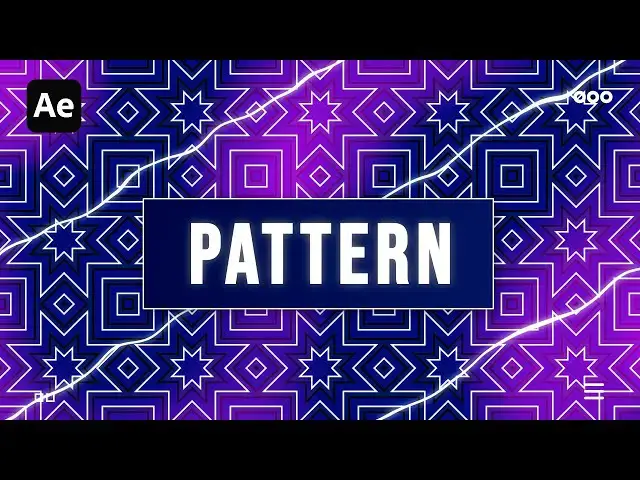
to create this creative and awesome
0:17
seamless background here in After
0:19
Effects so without wasting any more time
0:21
let's jump straight into after effects
0:36
all right we're here in After Effects
0:38
and first like always let's create a new
0:40
composition hit control+n or command
0:42
plus n or this little icon this is going
0:44
to be final of course for the width and
0:47
height let's do 3840 by 2160 4K frame
0:51
rate 30 frames per seconds and duration
0:53
10 seconds long hit okay and now let's
0:55
create background right click find here
0:57
new solid this is going to be of course
1:00
background for the width let's type here
1:02
3840 by 2160 4K hit okay and then go
1:07
here in the effects and preset like
1:08
always and if you can find this option
1:10
just go window and you will find effects
1:12
and preset here now type ramp effect
1:15
drag and drop on to the background layer
1:17
and here let's make some adjustments for
1:19
the start of color start of the ramp
1:21
upper left corner end of the ramp lower
1:24
right corner and for the colors you can
1:26
play around and for this particular
1:28
tutorial I will do this shade of pink or
1:31
red color something like this first one
1:33
is going to be lighten one hit okay you
1:36
can also use ey dropper and then choose
1:39
and find here darker one and then hit
1:43
okay now let's close this effects
1:44
control for now okay let's create a new
1:47
composition this is going to be shape
1:50
and then hit okay here in the new
1:53
composition let's also create background
1:54
go right click find here new solid layer
1:57
this is going to be shape background for
2:00
the width let's type here
2:01
7,500 and for the height let's leave it
2:04
to 2160 hit okay and now go here again
2:07
in the effects and preset find Venetian
2:10
blinds effect drag and drop onto the
2:11
shape background and as always let's
2:14
make a few adjustments for the
2:15
transition completion type here 50
2:18
direction to - 45 or 45 according your
2:21
needs and for the width let's type here
2:24
90 okay now go here at zero frames hit
2:27
P4 position set up the first key frame
2:30
and then go to 10 seconds and move this
2:33
x parameter all the way to the left or
2:36
to the right according your wishes okay
2:40
and now let's close this shape
2:42
composition for now also close this
2:44
effects control and find here in the
2:46
project window shape composition drag
2:48
and drop here in the finals also hit
2:50
here again on the background hit F3 to
2:53
show effect control copy this effect hit
2:56
control+ C gradient ramp and paste it
2:58
here on the shap composition and now
3:01
let's change colors start color maybe to
3:03
do this shade of blue color play around
3:06
hit okay also you can use eye dropper
3:09
and for the second color you can use
3:11
darker blue color something like this
3:15
hit okay and now let's add our next
3:17
effect this is going to be bevel Alpha
3:21
okay drag and drop here on the first
3:24
composition okay and for the edge
3:26
thickness let's type here 10 and for the
3:30
let's type here one also let's create
3:33
adjustment layer go right click find
3:35
here new adjustment layer and here find
3:38
CC kider effect okay drag and drop onto
3:41
the adjustment layer and here instead of
3:44
this mirroring flower let's find here
3:48
starish and really important step for
3:51
the rotation instead of zero type here
3:53
90 and now when we hit zero in the
3:56
finals as you can see we have this cool
3:59
animation and this really awesome
4:05
background let's rename this adjustment
4:07
layer to CC Kida and then go right click
4:11
again find here new adjustment layer
4:13
this is going to be curves okay find
4:17
curves here in the effects and preset
4:20
drag and drop onto the adjustment layer
4:22
and here basically you can play around
4:24
with darker or lighter parts of the
4:27
scene according your needs for me this
4:29
is looking awesome and when we hit zero
4:33
we have this awesome and really modern
4:39
background all right guys that was
4:41
everything for today's tutorial as
4:43
always I hope you learn something new if
4:45
you found this video helpful please hit
4:47
that like button also if you haven't
4:49
subscribed to my Channel please consider
4:51
to subscribe also take a look on my
4:53
channel on my profile for even more
4:55
great tutorials all the links are in
4:58
description and until next time stay

