0:03
welcome to webxr tools to get started
0:08
put in your name pick a username add
0:15
set your password agree to the terms of
0:17
service and click register when you
0:19
register you'll be sent an email to
0:21
verify your email address if you already
0:23
have an account click login and put your
0:25
username and password and log into the
0:27
dashboard to get started click create
0:33
give that project a name
0:40
select ixb for project type and click
0:50
when the immersive experience Builder
0:52
loads you'll notice three distinct
0:53
sections left panel with the
0:55
configuration the center panel with our
0:58
experience where we can drag around and
1:01
and then the right panel with different
1:03
hotspots and interactive elements we can
1:05
add to get started let's add a new scene
1:07
click the plus icon in the left column
1:10
give the scene a name
1:15
set the resource type as image and click
1:19
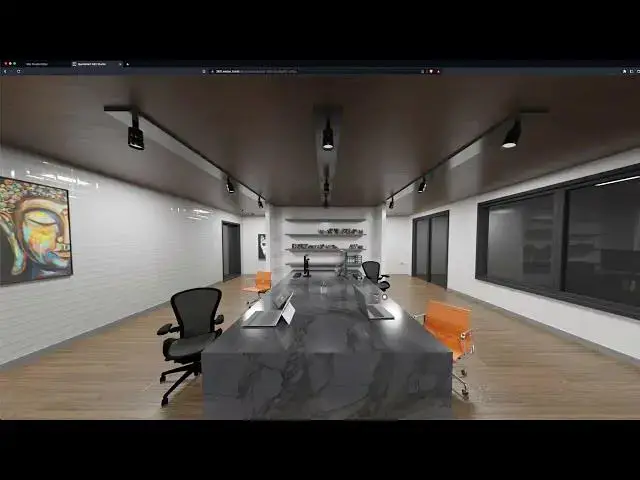
here we'll drag in our 360 spherical
1:25
and we'll click select
1:27
we'll hit save changes
1:30
while this is uploading it's generating
1:32
the tiles so that you can upload an 8K
1:34
render and it'll generate down to the 1K
1:36
resolution so it works for all devices
1:40
once the new scene is added
1:43
we can select it here in the left hand
1:47
we can look around a little
1:53
we'll go back and delete our default
1:55
scene click the trash can icon click ok
1:59
in our new scene We'll add some
2:00
interactivity with an image hotspot
2:02
we'll select image from the right column
2:04
and then click in the center column to
2:06
add our hotspot next click the folder
2:08
icon in the right column to open up the
2:16
then we'll give it a title and a
2:18
description both the title and
2:20
description sections are HTML enabled
2:25
we can add a call to action button that
2:27
says learn more and then give it a URL
2:29
so users can click through from the
2:34
we can even adjust the icon size
2:39
when we go into our preview we can see
2:40
what our modal looks like
2:45
let's go back in edit mode we'll go over
2:47
to the project settings in the upper
2:48
left corner and update our project
2:50
thumbnail is the preview image that
2:52
appears when we share the link to the
2:56
we'll also update our project
2:57
description this is the text that
2:59
appears when we share the link on social
3:01
media or via text message this will be
3:04
the first touch point for users so we
3:05
want to make sure we put something
3:06
descriptive and hit save changes
3:11
now we're ready to save and publish when
3:13
we see the green check that means
3:14
experience is live once the experience
3:16
is live we'll hit start experience
3:25
click our call to action it links
3:27
through you just built your first