0:00
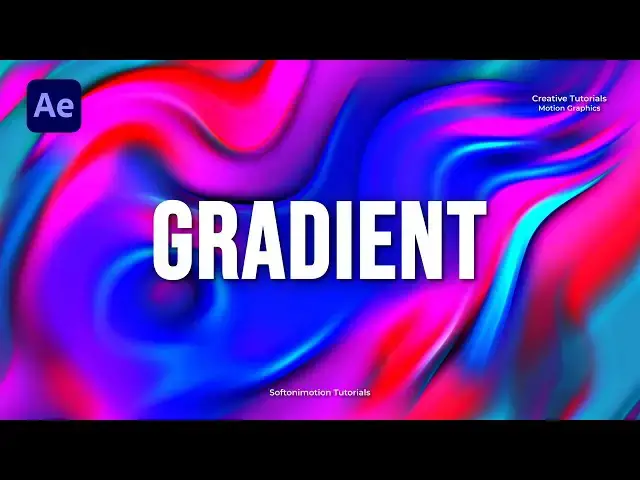
hello guys of Tony here and in this
0:03
video tutorial we're going to create
0:04
this awesome background here in After
0:07
Effects also if you haven't subscribed
0:09
to my Channel please hit that subscribe
0:11
button and turn on the notification Bell
0:13
so you never miss any of my future
0:15
tutorials so without any further Ado
0:18
let's jump straight into after effects
0:33
alright we're here in After Effects and
0:35
first like always let's create a new
0:36
composition this is going to be final
0:38
Camp of course you can type your own
0:40
text full HD 1920x1080 30 frames per
0:44
seconds and duration 10 seconds long hit
0:46
OK and now let's create our background
0:48
right click find here new solid layer
0:50
like usual I will rename this too
0:54
hit OK and then go right click find here
0:57
layer Styles and then go here and find
1:00
gradient overlay open up this gradient
1:02
overlay option click here to edit
1:05
gradient and here in gradient editor
1:07
let's add a few more markers one two
1:11
three four and five now let's play
1:14
around with gradient colors hit that for
1:17
this first one let's go maybe sand blue
1:19
color for the second one let's try maybe
1:22
darker blue like so third one let's go
1:27
fourth one let's go maybe pinkish color
1:31
sixth one let's go maybe this kind of
1:34
color for the seventh one let's go
1:37
something like this and for the last one
1:40
let's go again here and find cyan blue
1:42
color hit OK and our next step is to
1:46
change our angle from 90 to minus 45
1:49
like so and also change style from
1:53
linear here to reflected and now as you
1:56
can see we have this awesome gradient
1:58
here in our final scene okay now let's
2:00
pre-compose our background layer select
2:03
them and then right click pre-compose
2:05
let's rename these two
2:07
background of course move all attributes
2:10
into the new composition and you can
2:12
also check this adjust composition
2:13
duration to the time span of the
2:15
selected layers hit OK and now let's
2:18
duplicate this background layer hit here
2:20
and then go edit and then duplicate or
2:23
control plus d and then let's add our
2:25
first effect turbulent displays if you
2:28
can't find the facts and presses just go
2:30
window and you will find it here okay go
2:33
here turbulence displays drag and drop
2:34
onto our first background layer and for
2:37
the amount type here minus 800 like so
2:41
and our next effect that we're going to
2:43
use is directional blur drag and drop
2:47
here in our scene for the direction
2:48
let's type maybe 50 blue length to
2:51
around 300 like so and our third effect
2:55
is going to be glow effect you can
2:57
basically play around with all options
2:59
for the glow threshold let's try maybe
3:02
80 percent flow radius play around maybe
3:06
to around 8 t like before and for the
3:10
glow intensity let's also play around
3:13
0.7 let's type here 80 like so and now
3:17
what we're gonna do is to animate our
3:19
Evolution for our turbulent displays
3:21
hold alt then type here time asterisk
3:24
maybe 50 or 100 according your needs and
3:29
now in our finals when we hit zero we
3:31
have this really cool background in our
3:35
scene what we can do next is to
3:37
duplicate this background layer hit
3:38
control plus d and let's find this
3:41
overlay blending mode and now as you can
3:43
see we have this type of colors here in
3:45
our scene also if you want different
3:47
kind of Animation hit here on our
3:49
background again then duplicate this
3:51
turbulent displays once hit Ctrl D move
3:55
it below directional blur and let's
3:57
change our amount to maybe 200 and size
4:00
you can also play around 200 by 200 and
4:04
also for this one let's repeat the
4:07
process control plus d move it below our
4:09
directional blur and type here 200 and
4:13
200 also you can play around with the
4:16
displacement but this is looking really
4:18
cool and really awesome for me here in
4:21
our scene also one thing what we can do
4:23
here to make this scene even better
4:25
looking go right click find here new
4:27
adjustment layer let's rename these two
4:32
mask okay then hit here go here in the
4:35
faction preset and find here unsharp
4:38
mask effect drag and drop here on our
4:40
adjustment layer and you can hear play
4:43
around with the amount and radius of our
4:46
sharpness like so and now in our finals
4:49
we have this really awesome really cool
4:52
contrast looking background one thing we
4:55
can also do is to go right click find
4:57
here again our adjustment layers let's
4:59
rename these two curves like so find
5:04
curves effect drag and drop on our
5:06
curves and here you can also play around
5:08
with the contrast to make our scene even
5:11
more brighter or darker everything is up
5:14
to you and according your needs and now
5:16
when we hit zero we have this really
5:19
cool and awesome looking background in
5:23
alright you can also add more lights
5:26
effect like glow light sweep lens flare
5:29
and so many more all right guys that was
5:33
everything for today's tutorial this was
5:35
really easy to create and modern looking
5:37
background hope you learned something
5:39
new from this tutorial uh this is easy
5:41
technique play around with all options
5:44
to get the result that you want and if
5:46
you haven't subscribed to my Channel
5:47
please hit that subscribe button also
5:49
turn on the notification Bell so you
5:51
never miss any of my future tutorials
5:53
also take a look on my channel for a
5:55
more great tutorials feel free to
5:57
comment Down Below in the comment
5:59
section and until next time stay