0:00
Stencils are one of the easiest ways to add detailed designs to your cakes but they can
0:04
also go wrong really quickly if you don't know the tricks. In this tutorial I'll show you exactly how
0:09
to make and use cake stencils step by step, plus advanced techniques and troubleshooting on how
0:15
to fix every common mistake. Let's start with the basics - making sure your cake has straight sides.
0:20
This really matters. If the sides aren't straight, your stencil won't sit flat and your design will
0:25
smudge. Chilling the cake before you frost it will prevent your cake from leaning. Frost your cake
0:31
and smooth the sides and then chill it until the buttercream is firm. This is essential. If your
0:36
cake is soft, the stencil will stick and pull the frosting off. Now let's make the stencil. You can
0:41
draw your design onto parchment paper and cut it out or trace it using a phone or computer screen
0:47
underneath it. To apply the stencil, hold it flat against the cake and spread buttercream over it.
0:52
Try to spread inwards rather than outwards so you don't push the frosting underneath
0:56
the edges of your shape. Then use your scraper to smooth and thin the buttercream. You want a thin,
1:02
even layer. Carefully peel the stencil away. You can peel from both sides towards the middle
1:06
or push down against one side and pull the other side towards it to prevent it moving
1:11
or shifting as you peel. If you need to tidy up the edges of your design with a toothpick,
1:16
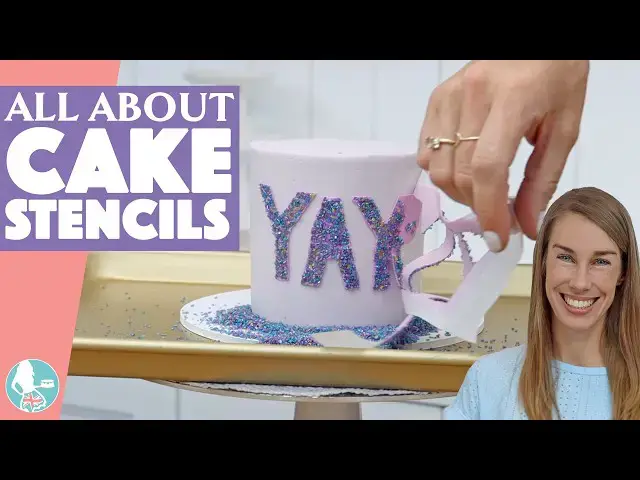
you can also add a border around the edges with piping or sprinkles or coloured sugar like I'm
1:20
doing here. Once you've got the basics, you can start getting more creative. For a blended effect,
1:26
use multiple colours, spreading them side by side, and then you'll blend
1:29
them together as you scrape over them to smooth the buttercream before peeling the stencil off.
1:35
For a more elaborate design use two stencils, a simple shape with a pattern underneath it.
1:41
And after wrapping both of these around a cake, spread and smooth colored buttercream as usual.
1:46
But when you peel the stencils off, your design will be a shape with a pattern inside.
1:51
Use a different layering technique for characters or scenes. Apply one stencil,
1:56
chill the cake, and then add the next. By layering the stencils on top of each other one at a time,
2:01
you can add more and more details to the design. Always chill in between stencils so that you don't
2:07
damage the previous details while they're still soft. Outlining sections makes design stand out
2:13
more and makes the edges neater, especially when there are lots of details and colours. Add texture
2:18
over a stencil like I'm doing here with this goat. Texture makes the design more interesting and who
2:24
doesn't love more buttercream on a cake? Another way to make your cake more interesting is to add
2:29
sprinkles or coloured sugar. It's a good idea to wrap parchment paper or wax paper around the
2:34
bottom of the cake first so that falling sprinkles or sugar doesn't stick to the bottom of your cake.
2:39
Add sprinkles or coloured sugar around the edges of a design to give it an outline or press them
2:44
against the buttercream before peeling the stencil away to completely fill the shape. Small sprinkles
2:49
like non-pareils work best for this so the design stays clear and readable. Now, let's go through
2:54
what can go wrong with cake stencils and how to fix those problems. If your design smudges and the
3:00
outline is messy, it's because your stencil moved before or while you peeled it away from the cake.
3:06
Use a toothpick to tidy up any smudges, scraping them off. And as long as the cake is really cold,
3:11
the frosting on the cake will stay firm and won't be damaged as you scrape over it with the
3:16
toothpick. If you spread buttercream too thickly over a stencil, when you peel the stencil off,
3:21
you'll leave uneven edges on the design. Spread your buttercream thinner for neater results. But
3:27
sometimes you do need thicker buttercream, like when you're covering up a dark colour with a
3:31
lighter colour or adding a stencil detail over the top of texture. And in this case,
3:37
if the edges of your design are uneven, you can use a toothpick to tidy them up. If you
3:41
take a long time to spread and smooth buttercream over a stencil, your fingers pressing against the
3:47
stencil to hold it still will warm up the frosting underneath, and you'll leave fingerprints behind.
3:52
So, if you're new to stencils, pin your stencil in place the first few times while you get used
3:57
to the technique so you can work slowly without worrying about leaving those fingerprints behind.
4:02
If you're wrapping a stencil all the way around a cake, straight sides on that cake are essential.
4:08
Otherwise, the stencil won't sit flat and the design will distort. If you're reusing stencils,
4:14
clean them between uses so that leftover buttercream doesn't transfer onto your next
4:18
design. And if you're layering stencils, make sure you wait long enough in between the layers.
4:23
If the first layer isn't fully set, the next one can ruin it. Let's finish with the most important
4:29
tips and tricks for cake stencils. Always chill your cake before and in between stencils.
4:34
Cut your stencil neatly - messy edges in the stencil will show up on your cake.
4:39
Spread buttercream inwards from the edge to the middle of your stencil
4:43
and then swipe away sideways instead of pulling off straight and lifting the stencil with you.
4:48
Move your fingers as you hold the stencil to avoid leaving warm fingerprints on the cake. And
4:54
when removing the stencil, peel carefully either from both sides towards the middle or press on
4:58
one side and pull towards that side to prevent the stencil moving and smudging the design. So now you
5:04
know exactly how to make and use cake stencils to create simple designs and also advanced techniques
5:10
and how to fix the mistakes that can happen along the way. Tell me in the comments what
5:14
you're going to stencil onto your next cake. And visit my cake school on www.britishgirlbakes.com
5:18
to learn hundreds more cake decorating techniques and designs. See you there!