Up next in 10

Python Matplotlib Script to List All Files with Size and Take Screenshot & Save as PNG Image Report
Jun 3, 2025
Get the full source code of application here:
https://codingshiksha.com/python/python-matplotlib-script-to-list-all-files-with-size-and-take-screenshot-save-as-png-image-report/
Show More Show Less View Video Transcript
0:00
uh hello guys uh welcome to this video
0:02
So in this video I will show you a
0:04
Python script which allows you to take
0:06
uh screenshot of a particular
0:10
directory So how many files are present
0:13
in the directory plus the size of the
0:15
each file inside the directory So uh we
0:19
have this Python script here So
0:22
essentially we are passing this
0:23
directory name which is compressed
0:25
output which is present in the same
0:27
directory So what it will do it will go
0:29
to this directory It will take the
0:31
screenshot and store all this
0:34
information in a table And let me just
0:36
show you If I execute this you will see
0:39
it will save a screenshot of the
0:43
directory as a PNG file So it's let me
0:47
show you the screenshot here It's file
0:49
list.png
0:54
So this is actually taken the screenshot
0:56
and uh it lists out all the files which
0:59
are present in the directory You can see
1:02
plus file name plus extension as well So
1:06
that way the people can look how many
1:09
files are present in this directory plus
1:11
the size as well you can see So it's a
1:14
nice little application It actually take
1:17
the screenshot of all the files which
1:19
are present in the directory and save it
1:20
as a report card inside this table like
1:24
structure You can essentially see all
1:26
the files present in this directory how
1:30
much size is
1:32
there So I have given all the script uh
1:36
all the source code in the description
1:37
of the video So now I will show you how
1:40
to create this
1:44
So for building this we are using one
1:46
third party package here of python which
1:50
is used to take the screenshot which is
1:52
matt plot lib This is as actually the
1:55
package here we are using simply you
1:58
need to install this just install this
2:01
after installing it
2:04
just make a simple app py file and right
2:08
here you first of all need to import all
2:10
the packages like
2:17
this After importing it we just need to
2:22
actually specify in the main function
2:28
here So here we just need to specify
2:31
which directory we need to take the
2:34
screenshot So here we need to provide
2:36
the directory path So it is present in
2:39
the same directory Compress output You
2:41
can give any directory path After that
2:44
you actually go to that directory scan
2:48
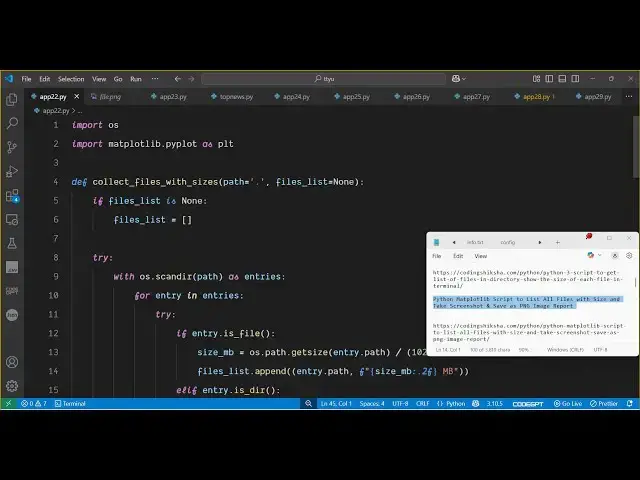
all the files So for this we will be
2:51
making this custom function passing this
2:53
directory path So now I just need to
2:56
make this function collect files with
2:58
sizes So this will be a
3:04
function So this directory will be
3:06
passed as an argument So right here we
3:09
just need to
3:12
uh collect files with sizes
3:15
So the directory is passed So the
3:18
initial value will be empty So if no
3:23
directory is passed then we'll be taking
3:25
the home directory And then the second
3:27
one is file
3:29
list initial value will be null So right
3:33
here if we will check inside this if
3:35
condition that if the files list is none
3:39
in that case we just need to create a
3:42
brand new object here brand new array
3:46
Here we'll be storing all the files
3:47
which will be present So right here in
3:49
the try block we will actually use the
3:54
operating system module It contains this
3:56
function scan directory and we will scan
3:59
this folder to get all the files and
4:03
inside this for
4:07
loop for each
4:11
file we will check that
4:14
if it's a file here then in that case we
4:18
need to process this file So first of
4:21
all we need to calculate the size of the
4:23
file So for calculating the size we have
4:25
this function here operating system path
4:29
dot get size So this is actually the
4:32
function that we are calling here get
4:39
size and for getting it inside the
4:41
megabytes we just need to divide this 1
4:45
2 1024 multiplied by
4:51
10 And after that we just need to say
4:54
files list dot
4:56
append We need to append this path plus
5:00
we also need to append the size which
5:11
is like this So after appending both
5:15
this
5:17
information we will also be having the
5:20
else if condition
5:22
that if the entry is a directory then in
5:26
that
5:28
case we need to
5:31
collect files with sizes and here we
5:36
just need to provide so it is also
5:38
scanning subdirectories as well If there
5:41
is a subdirectory then we need to pass
5:43
the path here and also the files
5:50
list So here we will also be having this
6:03
accept and lastly we will be returning
6:06
the files from this function So
6:09
essentially this function will be
6:11
returning the files list like
6:13
this So after getting the files we can
6:16
print out So this is actually all the
6:19
files will be returned from this
6:20
directory So if I execute this you will
6:23
see it will return array of files Each
6:26
file containing a specific property here
6:29
the file name and also the size here You
6:31
can see that each file has its own size
6:35
So after that we just need to convert
6:37
this to an actual image this data which
6:40
is returning So for doing this we
6:44
actually define a new
6:47
function So we call this function as
6:50
save file
6:52
list as
6:55
image So here we simply pass this file
6:59
data So right here we define this
7:02
function which is
7:04
save file
7:08
list So essentially here we
7:13
define it will be file data and the
7:17
output
7:19
image you just give it file
7:23
dotpng So inside this function we
7:25
actually check if the file data doesn't
7:29
contain any sort of data then we simply
7:31
return that uh no files found After that
7:35
we initialize the mattplot lib
7:40
library to render this information in a
7:42
tablelike structure We basically adjust
7:44
the height based upon the number of
7:46
files and then we display all this data
7:49
inside the tabular structure
7:52
As you can see we have two columns file
7:55
path and the size in megabytes and we
7:58
then simply render all the things and
8:00
lastly we export this to an image
8:04
file So you can see we are exporting it
8:07
to image file output image So if you
8:11
execute this now you will see
8:15
that the save file screenshot as
8:18
file.png png in the same directory It
8:21
has created this file here file
8:30
dot Uh yeah this is a file
8:36
here So you can see that uh in this easy
8:39
way you can build out a report card of a
8:42
specific directory how many files are
8:44
present and render it inside an image
8:46
file So thank you very much All the
8:49
script code is given in the description
8:51
of the video Please hit that like button
8:53
subscribe the channel and also check out
8:55
my website uh freemediattools.com
8:59
uh which contains thousands of tools
#Computers & Electronics
#Clip Art & Animated GIFs