Up next in 10


i got the Cheapest 2020 Car Run and Drive to Build From Copart part 2
//Creative Commons Attribution Licence video (Reuse allowed)
Show More Show Less View Video Transcript
0:00
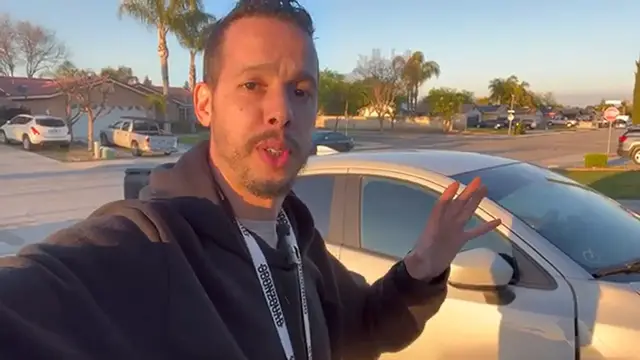
All right guys, so we just got the car back home. We're gonna do a quick walk around and then look what the damage. Make it less and start ordering the parts we need
1:00
So check it out guys, it wasn't bad at all. I was able to remove the front bumper and then left the side of the fender on
1:11
I'm gonna try to see if I can fix it while it's connected. I tried the other side of the fender out of the car to see which one is easier to work on it
1:20
either on the car or outside. Beside that I can see that the crash body is damaged
1:25
We're gonna need to replace it and all the component that's connected to it
1:29
Pretty much the other side has the same damage. So I'm going to dig further, take all those spots, see what other damages are hidden behind them
1:38
Let's go. We'll find out that there is other damages right here broken parts too
2:15
You can see radiator holder need to be replaced but right here everything looks good on the frame Frame is straight no problem Brackets perfect Same thing on the other side It just part
2:28
remove the frame still perfect. Check it out guys I was able to remove the radiator support and everything the damage only on this exterior part nothing is bad by the engine nothing is bad on the other side everything looks good so let's start putting the new parts
3:46
We replace the support for the radiator. Radiator will replace the crash bar, the absorber
3:53
Everything looks brand new like back to OEM. After that, I'm going to move from the headlights to the hood
4:00
That's the last and final step. Beside the go after that I'm going to go to the interior
4:05
All right. So let's go. All right guys after we finish from the outside now we go into the interior I just got the airbag I got the seat belt repaired We gonna install it and finish for the interior Make sure everything is good Let go
5:38
Alright guys, so now we're going to do the final step in the interior
5:50
We're going to replace the airbag. Let's go. All right guys, so I thought the balls would be easier just to replace the parts with another one
6:18
For some reason I think after the crash, everything is melted as you can see right here
6:23
So even I try to put to pull only this little piece, the black one out and then so I can remove the harnesses
6:30
For some reason, everything is you can see right here, it's melted
6:34
You cannot even take it up. So, the only way we have to do now, I'm going to look online
6:41
Hopefully they sell only those parts, the orange and the yellow one
6:45
And then I'll be able to just connect them. It's very easy. You just connect them on the two sides and then plug them to the new airbag
6:52
So until then, I'm going to order the part right now. As soon as I receive it, I will walk you through the whole process
6:58
And then hopefully that the last thing we need See you soon All right guys, so we just finished installing the airbag
7:55
Seat belt is ready. So officially the interior of this car is ready so let's go here I decided to install a brand new headlights the right and the
8:06
left side as I find a good price to buy them online and I don't want to mess up with the
8:11
old ones So check it out guys. Everything is ready. We replace the front bumper, the hood, interior airbag, seatbelt. Everything is done the correct way. So now I'm just going to get the car ready for the paint. I'm going to see you on the next video. Stay tuned for an exciting video. Let's go
Autos & Vehicles
Bicycles & Accessories
Bike Parts & Repair
Vehicle Parts & Accessories
Vehicle Repair & Maintenance
Vehicle Modification & Tuning