
How to Find Your IP Address in Windows 11
Mar 9, 2025
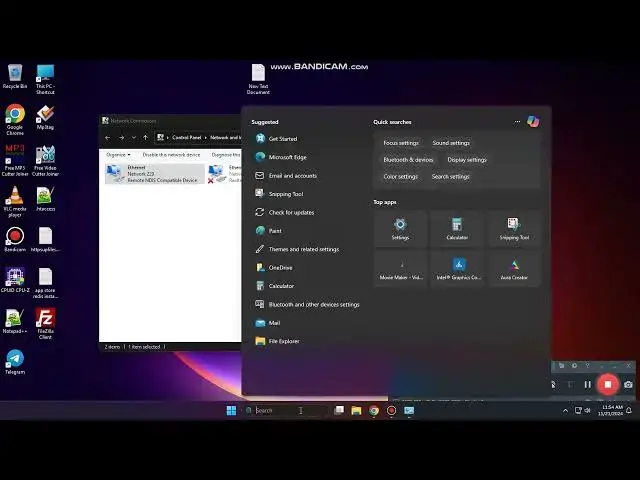
1. Go into the Windows start bar, and type in “Network Connections” and click on the “View Network Connections” search result.
2. A network connections dialog window will now display where you can see all of your computer’s network adapters.
3. To find your computer’s IP address, right click on the network adapter that you’re currently using to use the internet, which in my case is the WiFi network adapter, and then click on the “Status” option from the context menu.
4. A WiFi status dialog window will now display.
5. Now click on the “Details” button.
6. A “Network Connection Details” dialog window will now display, from here you can see your computer’s IP address, IP subnet mask, and default gateway.
7. You can also obtain your computer’s IP address by going into the Windows start bar, opening up the command prompt application, and typing in “ipconfig /all” and hitting enter.
8. As you can see, this method will also show you all of the same IP address information that we saw in the network connection details dialog window.
Show More Show Less