0:00
Hello friends Welcome To frea tutorial
0:03
and in this tutorial we will learn how
0:05
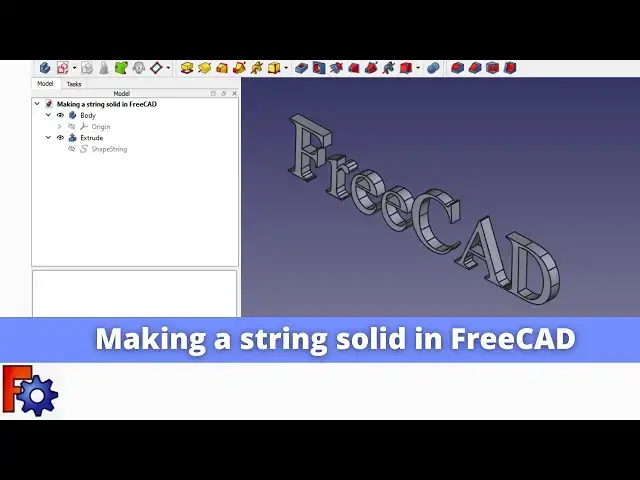
we can make a string solid as you can
0:08
see that uh this is the freead string
0:12
which I have converted into the solid
0:15
with the help of uh draft workbench and
0:19
part workbench and uh I will show you in
0:22
this tutorial how you can make any
0:24
character string of your choice into the
0:28
solids and you can 3D print it so let's
0:31
start our tutorial so I will close this
0:34
file and create a new file you can also
0:38
visit my website Mech nexus.com where I
0:41
write articles and tutorials on freead
0:44
you can download my tutorial source file
0:48
from here tutorial source file page and
0:51
you can also support me by buying a cup
0:55
of coffee on kofi.com your uh small
0:59
support will help these channels to grow
1:02
and it will motivate me to create more
1:04
awesome content on freead I thanks to
1:08
all my supporter those who have
1:10
supported me by buying a cup of
1:14
coffee so keep supporting and uh it will
1:18
help me to grow this Channel and it will
1:22
motivate me to create more awesome and
1:25
useful tutorials on freeat so let's come
1:32
so here I will switch to the draft
1:34
workbench and create a new file and here
1:38
you will uh get option of a shape from
1:43
text and before inserting this into the
1:47
our body first thing which I will do is
1:51
uh I will switch to the part design
1:55
workbench and I will insert my body and
1:57
again I switch to the draft work bench
2:01
and I will off my grid so first thing
2:04
here to know that uh you have to
2:07
understand about the font installed on
2:11
system so if you are using the Windows
2:14
operating system go to the your search
2:18
bar and search for the
2:21
font and here you will see the font
2:25
setting and here are the fonts for
2:30
let's check this font so location of
2:33
your font is a c Windows
2:37
font so we will use this path and I will
2:41
set my Cube to the isometric and
2:47
string and again give the free cat
2:53
60 and I will give the same font file
2:57
which I have given the last time
3:05
ttf why I'm using the times. ttf because
3:08
it is the most common
3:13
Roman so here is my ttf click on
3:18
okay and here I will click on my screen
3:21
and uh click on okay so you can see that
3:25
my text has been inserted
3:30
now let's uh click on the fit to
3:34
all and now we will convert this uh
3:40
solid so what I will do I will switch to
3:47
workbench and here on the part workbench
3:50
you will see the option of extrude so
3:55
string and click on the extrude so here
3:59
I want to exclude it to the 10 mm and I
4:03
want solid so tick mark on the create
4:06
solid and set here along normal click on
4:11
okay so you can see that uh it is
4:17
now I can change the properties of
4:20
my uh font here so for example let's I
4:28
80 so you can you can see that size has
4:36
extrude length so here it is a 10 mm if
4:45
20 and I can simply export my this uh
4:50
Extrusion into the STL format for the 3D
4:53
printing so this is how you can convert
4:57
uh text into the solids in a free card
5:03
part workbench and uh draft workbench so
5:07
this is all about this tutorial thank
5:09
you for watching and thank you for your