0:00
Hello friends welcome to Solid Works
0:02
tutorial and in this tutorial we will
0:05
learn linear and polar pattern you can
0:09
also visit my website macn nexus.com and
0:12
you can visit this solid works tutorial
0:16
tab where I have written so many
0:19
tutorials on solid works where you can
0:22
follow the step by step guide to model
0:27
parts if you like my method of teaching
0:29
then you can also support me on kofi.com
0:32
you can buy me a cup of coffee your
0:36
small support will help these channels
0:38
to grow and it will motivate me to
0:41
create more awesome content on solid
0:44
works so let's come back to our
0:49
this we will select this top plane and
0:56
sketch which is a rectangle
1:03
Dimension and constrain it so let's I
1:11
500 in length and uh height
1:20
250 and now I will come out of the
1:24
sketch press contrl 7 and click on
1:30
and let's make thickness of 20
1:38
now we will uh create very simple sketch
1:42
on the surface of our
1:44
rectangle so we will click on rectangle
1:48
and draw a simple rectangle
1:51
here and now click on Smart
1:55
Dimension give the length 15
2:07
now we will give it position from the
2:15
origin let's give this Dimension 15 and
2:25
15 now we will close our sketch
2:33
extrude and distance I given the 20
2:37
click okay and now we will learn the
2:41
linear pattern so we will select our
2:45
feature click on the linear
2:47
pattern and now in the linear
2:50
pattern we will pattern our
2:56
created in two direction
3:00
so first direction we will choose
3:02
this and spacing I will give 20
3:11
40 and number of instances I will give
3:16
six and now we will select Direction two
3:26
give the instance distance spacing
3:30
between two object is
3:36
uh elements we will give the 10 let's
3:40
see or we can adjust is to the
3:45
12 so this is the preview of our linear
3:50
okay so now you can see that uh we have
3:55
created a simple boss and we have a
3:59
patter pattern it in two directions X
4:03
and Y we can easily edit our
4:09
simply reduce the number of instances
4:12
like uh six I make four and 12 I make
4:22
okay so this is how we have made the
4:25
pattern and this pattern we have used
4:28
for the EXT red now we will also use it
4:34
for the cut so we will delete this
4:39
boss and we have the already sketch so
4:42
we will select it click on extro
4:47
Cut and we will say true
4:51
all now we will select our
4:54
cut and uh click on the linear
4:58
pattern and uh we will give the first
5:02
Direction X and second Direction
5:06
Y and we will solid works here already
5:10
took the value which we have entered
5:12
earlier we will say okay so pattern
5:16
works for the both either extrude cut or
5:21
boss so this is all about the linear
5:24
pattern now we will learn the polar
5:33
we will create one new
5:39
file and first I will set my unit select
5:43
this top plane create
5:48
here I will uh create a
5:51
circle and let's give the
6:02
and now we will come out of the
6:04
sketch press control 7 click on extrude
6:10
boss and let's give the thickness 20
6:14
mm and click on okay and
6:20
now we will select this pH and uh create
6:34
circle and we will select this circle
6:40
construction and now we will give the
6:45
dimension let's give it uh
6:51
now on this circle we will create one
6:56
Circle and give it a dimension of
7:07
now we will select this circle point and
7:11
our origin point and add a vertical
7:15
relation now we will come out of
7:19
it and now we will select our sketch
7:25
boss and add the distance of a 40
7:31
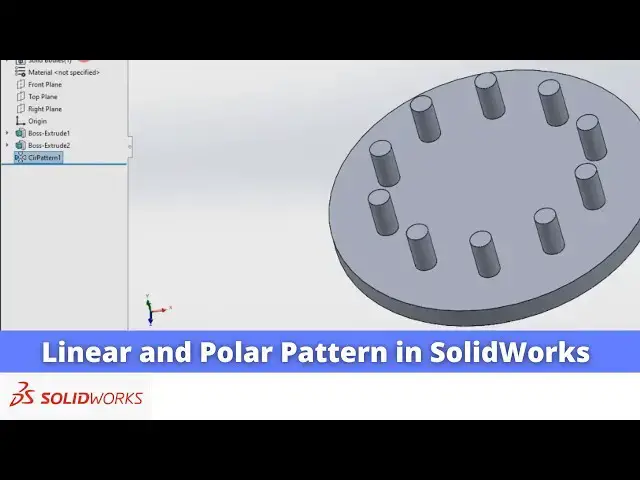
okay and now we will use the polar
7:34
pattern feature we will select our
7:36
features and from here drop down we will
7:40
pattern now here we will Define our AIS
7:49
here we will give the
7:53
360° and number of instances I will give
8:04
here we will click on the equal
8:07
spacing so you can see that
8:11
uh 10 boss has been created
8:14
here similarly this also works for
8:17
extrude cut as well so we will uh delete
8:22
it we will delete this
8:26
boss click click on okay and now we will
8:29
select the sketch click on extrude
8:33
Cut and say okay now we will select our
8:37
features and click on the circular
8:41
pattern we will select this uh outer
8:45
surface and solid works took the value
8:48
which we have entered earlier click on
8:51
okay so this is how to use the polar
8:54
pattern in a solid work it works for the
8:58
both either extrude boss or extrude cut
9:01
so this is all about this tutorial and
9:04
we have learned the linear and polar
9:06
pattern in solid works thank you for
9:09
watching and thank you for your valuable