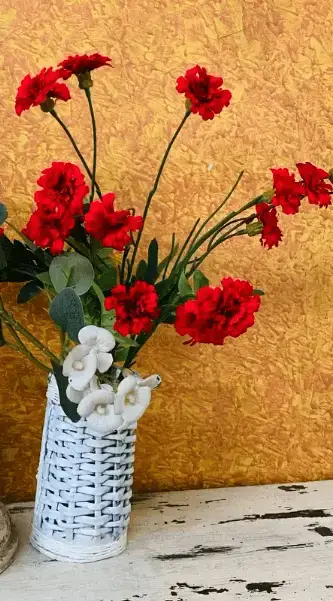

How I Made a Charming DIY Flower Vase from Old Book Pages
Oct 29, 2024
I love giving new life to old items, especially when it comes to crafting. Recently, I came across a fantastic DIY idea—using pages from an old book to create a unique and decorative flower vase. Not only is it a great way to upcycle, but it also adds a vintage touch to any room. Here’s a step-by-step guide to how I transformed old book pages into a charming flower vase.
Materials You’ll Need
Old Book Pages: Use any book you no longer need. The pages will create a beautiful, rustic look.
Scissors: A good pair of scissors for cutting and shaping.
Glue: Any crafting glue that dries clear will work.
Pencil: For tracing shapes and folding guidelines.
Paper Clip: To hold folds in place while the glue dries.
Paint (Optional): You can use watercolors or acrylics to add color accents if you want.
Step-by-Step Instructions
Step 1: Gather and Prepare Your Materials
I started by picking out an old book that was just gathering dust on my shelf. The older and more worn the pages, the more character your vase will have! Carefully tear out a few pages, enough to create the size of vase you want.
Step 2: Fold and Cut the Paper
To begin the base of the vase, I folded each page in half lengthwise, creating a sharp crease in the middle. Then, I cut the paper into strips about 1 inch wide. These strips will be the building blocks for the vase structure.
Step 3: Create the Vase Base
Using the strips, I started rolling one tightly to form the base of the vase. I added a bit of glue at the end of each strip to secure it, then continued adding more strips around it, gradually increasing the size to form the base.
Step 4: Build Up the Vase Walls
Once I had a solid base, I began folding more strips into loops, gluing the ends together. I attached these loops one by one, stacking them around the base. As I worked upward, I started overlapping the loops slightly to give the vase a rounded shape. You can adjust the height and width depending on the size you want.
Step 5: Add Decorative Touches
For a decorative touch, I used extra strips to create little paper flowers and leaves. These were easy to make—just fold the strips in zigzag patterns and curl them into shapes. I glued them onto the vase for a playful look. You can get creative here, adding as many or as few decorations as you like.
Step 6: Optional Coloring
I decided to keep the natural look of the book pages for a vintage feel, but you can add some color if you prefer. A light wash of watercolor can bring subtle tones to the paper, while acrylic paint can create bolder accents. If you paint, make sure to let it dry completely before moving on.
My Experience with the Project
Making this DIY flower vase was surprisingly simple and a lot of fun! I loved watching the vase take shape as I added each layer. One thing I learned was to be patient with the glue—it’s best to give each section time to dry before moving to the next, ensuring the vase stays sturdy.
Tips for Success
Choose the Right Paper: Thinner book pages are easier to fold, while thicker pages might be more challenging to shape but offer more durability.
Be Patient with Folding: Precise folding is key to a neat look, so take your time with each fold.
Add Personal Touches: Feel free to add your own spin, like wrapping a ribbon around the vase or adding glitter for a bit of sparkle.
Show More Show Less