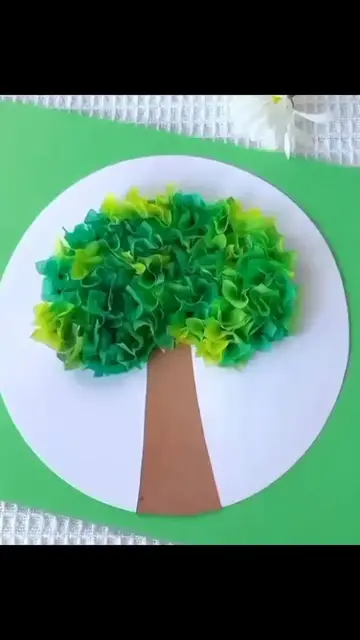

How to Make a Miniature Tree Using Polymer Clay and Paper
Nov 27, 2024
Here’s a step-by-step guide to making a miniature tree using polymer clay and paper!
Materials You’ll Need
Polymer clay in brown (for the trunk) and green (for the leaves)
Paper (preferably craft paper or any textured paper for added effect)
Craft glue
Scissors
Toothpicks or a sculpting tool
Baking tray (if your clay requires baking)
Step 1: Shaping the Tree Trunk
Begin by taking a piece of brown polymer clay and rolling it into a cylinder. This will be the trunk of your tree. To make it more lifelike, use a toothpick or sculpting tool to add texture, such as bark-like lines and knots.
Bend and twist the trunk slightly to give it a natural look, and don’t forget to form the roots at the bottom for added detail.
Step 2: Adding Branches
Take small pieces of brown clay and roll them into thin strips for the branches. Attach these to the trunk by gently pressing and blending them in with your fingers or sculpting tool.
Step 3: Creating Leaves with Clay or Paper
Option 1: Polymer Clay Leaves
Roll tiny balls of green polymer clay and flatten them slightly to make individual leaves. Use the toothpick to etch vein details on each leaf. Attach the leaves to the branches by pressing them gently.
Option 2: Paper Leaves
Cut out small leaf shapes from your paper. You can use green paper for a classic tree or experiment with colors like orange and red for an autumn vibe. Glue the leaves to the branches for a lightweight, delicate look.
Step 4: Final Touches and Baking
If you used polymer clay for your leaves, follow the clay packaging instructions to bake your tree. Ensure the clay has hardened and cooled completely before handling.
If you chose paper leaves, allow the glue to dry fully before moving on.
Step 5: Display Your Creation
Your tree is now ready! Place it on a small base made of leftover clay or cardboard for stability. You can use this as home décor, a centerpiece, or even as a unique handmade product to sell.
Show More Show Less