Up next in 10

How to Make a Free Blog Website on Blogger.com (Full Guide)
Show More Show Less View Video Transcript
0:00
Welcome to Techspress where you unlock the digital world for you
0:03
Today you are going to be diving into the world of blogging with a step by step guide on creating a free blog website in the blogger
0:09
Whether you are a hobbyist, experimenting writer or looking to establish an online presence
0:14
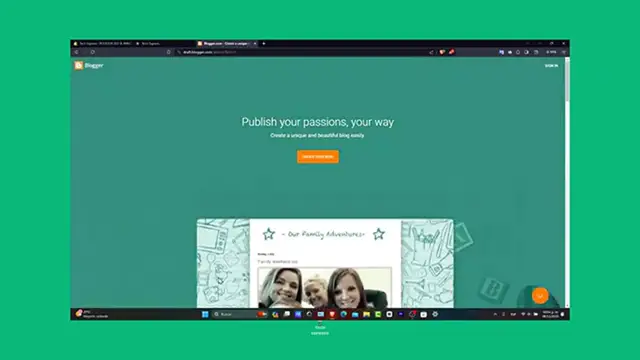
blogger.com is a great platform to start with. Let's jump and create your blogging space
0:19
Now the introduction of the blogger. This is owned by Google.com. It is a free platform that allows anyone to create and publish a blog
0:26
It is user friendly and perfect for beginners without any web design experience
0:30
You can customize your blog in various themes and templates. You can make it easy to add in different various templates, making it easy to create a professional
0:39
looking blog and even much more. So let's get started with the setting up your blogger account
0:45
First of all place it blogger.com and once you are in here you can sign in directly
0:49
If you are not you will need to create one account. Click here into sign in and this is actually from Google
0:55
It is going to be asking you to have a Google account. So let's choose my Google account and once you are signed in you'll be directed to the
1:02
blogger dashboard where you can start creating your actual blog. So first of all creating an actual blog
1:10
Click on create a new blog. It is going to be asking you what is the style for your blog
1:13
For example let's say for example I'm going to type the best website generator application
1:18
Now you can create your actual name that reflects the name of the purpose of your blog
1:24
For example here we have the address let's say website artificial intelligence
1:29
I can do next and the display name. How do you want your name displayed to read this your blog
1:34
Let's say for example tech express and I hit now to finish
1:38
And here you can see here's all the blogs. Blogger boss blogger boss blogger boss
1:44
I can hit into managed to manage the blogs I am actually following
1:49
Right now here have a free account so we don't have actually anything here
1:52
Now what you want to do is to go directly into create your blog as we used that before
1:57
and what you can do is to choose a theme for your common blog into the pod to fit different
2:03
styles and content type. You can preview themes before making a decision of course
2:07
After you select your theme let's say for example that I go
2:10
You can customize it further by changing layouts you can change the colors you can
2:15
change funds and more in the theme section. Now create your first blog
2:21
Let's create your first blog post clicked on to this section of new post I'm going to
2:25
go back of course. And as you can see here the customizing all of my section here let's go for a new post
2:31
and write your content for my text and add images or links
2:34
You want to demonstrate writing a post here to post editor is intuitive and similar to
2:39
the common word processor so you can easily craft your blog post into the upper side you
2:43
have to title you have everything to edit the format of what you're seeing here into
2:48
the blog section into the right part you have the labels you published on the permalinked
2:54
the location and the options you want to add more elements here
2:59
So it's going to take a few seconds here to add something for my blog
3:02
There we go. Something really easy to create. Now the post editor is intuitive guys
3:07
So once your post is ready you can either save it as a draft or just preview it preview
3:12
your post to check out how it's going to be looking your post here
3:16
And there we go. So as you can see welcome to digital frontier here as you can see we have the backside of
3:21
our stuff here. So you can either save it as a draft or just publish this immediately
3:26
Click into publish to make your post live into your blog. So let's go back here
3:31
Let's get into publish. The hidden is confirmed and the post is now been published as it goes now into the post
3:38
section of the dashboard you can view edit or delete your published post
3:42
Now in haste the blog with widgets and additional pages for example widgets are like the about
3:48
me or the content can be added from the layout section that appears into the little pod
3:53
So here I can click into layout I can add my gadget I can add a new blog archive
3:58
This blog here have a page list the page body public post and much more
4:03
And well you have now pages you can see your earnings you can go into comments and post
4:09
and much more elements. And the best part is this is totally for free
4:13
All of these elements added from blogger are directly let's say marketer automatically
4:20
And that is it guys. You have successfully created your free blog website into blogger.com
4:27
Remember that blogging is an ongoing journey. Keep updating your blog with fresh content and explore new ways to engage with your readers
4:34
If you find this tutorial helpful please give us a thumbs up and subscribe to Techspress
4:38
for more easy tech guides. Have any questions or tips for the bloggers you can share them into the comments below
4:44
See you guys on the next video
#Computers & Electronics
#Web Services
#Blogging Resources & Services
#Online Journals & Personal Sites