0:00
what's going on everybody it's Matt here
0:01
again from filter grade and today I'm
0:03
going to be taking you through our new
0:05
retro film borders overlays pack
0:08
I made this pact with real 35 millimeter
0:11
film borders some medium format borders
0:13
and 6x7 format and also in square 4x4
0:18
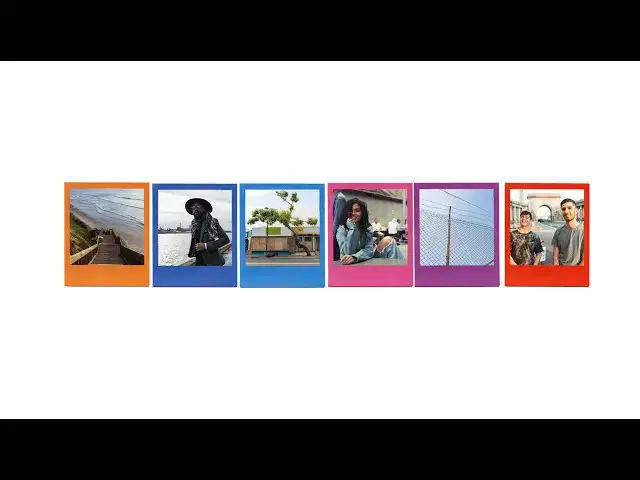
format and I've also included some
0:21
polaroid borders and other types of
0:24
overlays and things like that that can
0:26
give you that bullets cool in the solid
0:28
feel so today I'm going to be just going
0:30
over the product in Photoshop and a few
0:33
various uses that you can use it for
0:35
alright so now we're in Adobe Photoshop
0:39
and I have the photos loaded up that I'm
0:42
going to be using today there's a few
0:45
different travel photos portraits things
0:49
like that and these were all shot with
0:51
digital cameras so this isn't one of
0:56
those packs that you can only use you
0:57
know phone photos for I think it's also
0:59
good to use digital photos and we're
1:04
going to just go ahead and open up the
1:05
film borders pack you can see there's
1:09
all different kinds of orders in hand
1:11
let's go ahead and start with one of the
1:14
thirty five-millimeter borders
1:22
so let's go ahead and start with this
1:24
and usually what I like to do is just
1:27
drag and drop the photo into it rather
1:30
than putting it over the photo let's
1:33
gonna use this so I'm going to hit
1:35
command a that selects everything in
1:38
command C that's gonna copy it and then
1:41
I'm gonna just control V and paste it in
1:43
a new document now you can see over here
1:46
on the right it's over the film border
1:48
right now so you're not gonna be able to
1:49
see it so you can go ahead and bring the
1:51
border on top and now the photo will be
1:54
in the back and then you can hit command
1:56
T and that'll let you to resize the
1:58
image and just gonna scale this down a
2:04
adjust it and now you can see everyone's
2:08
in the image I think the film border
2:11
looks really nice on it it adds that
2:13
cool feel to it I think that looks super
2:16
nice so that's a really good example of
2:19
just how to you know add in the border
2:22
on top let's go ahead and try on another
2:26
border and what I'm gonna do is add some
2:30
noise and some other effects to the
2:31
photo as well so it looks even a little
2:36
more vintage - let's go ahead and play
2:41
around with one of the medium format
2:42
borders this is cool so I'll pull up
2:48
this portrait of myself again command a
2:52
and command C and go to the film border
2:55
and then command V and then adjust the
2:59
order to be on top and then I'm gonna
3:02
crop image just a little bit but this
3:05
medium format border looks Zipp anything
3:09
so it's pretty cool and then I'm gonna
3:14
go ahead and I'll duplicate the image
3:17
later just so I have another want to
3:20
work with the filter and then on this
3:22
the duplicated layer I'm gonna select
3:25
the filter noise and then add noise and
3:29
on here I'm gonna zoom out just a little
3:33
bit and move it over and you can just
3:37
play around with this obviously you
3:39
don't want to go too overboard and make
3:42
it look unrealistic but adding noise to
3:44
the photo will definitely help make it
3:46
look like you know a real film photo so
3:50
during that I'm gonna make that is 20
3:54
sup there and then also on this same
3:57
layer I'm going to add filter noise and
4:00
this time dust and scratches
4:02
so again just move it a little bit over
4:05
now scratches hard I got to be careful
4:08
with you don't want to really mess with
4:09
the radius because as you can see it
4:12
really messes the image so I'd leave
4:14
that at 1 and then if you're going to
4:16
play with anything at all you can play
4:18
with the threshold that's just the
4:20
amount of dust and scratches as you can
4:22
see it's changing a bunch I'm not gonna
4:25
overdo it too much I'll do 60 360 looks
4:32
pretty good now so let's leave it right
4:34
there I think that looks like a really
4:35
good photo it even looks like a film
4:37
photo now even though shot on digital
4:39
because of the border and just this
4:41
simple effects like that that's really
4:44
nice let's go ahead and also take a look
4:47
at we have some black and white film
4:51
borders too from the 35 millimeter
4:53
format I think that looked really cool
4:56
this one's really nice because it has a
4:58
little marker outline here so let's go
5:01
ahead and get another one of these
5:04
portraits I think the portrait look best
5:06
with the 35 millimeter or
5:17
so command a command C then I must go
5:21
back to the order and just paste it down
5:26
and move it out and this is this looks
5:32
sick because it makes the image
5:33
grayscale as well so it fits perfectly
5:36
with the border I think that that makes
5:39
it look really nice and you even have
5:41
this nice a marker texture to even you
5:45
know add on top of that border effect
5:48
that looks really nice it's going to
6:06
okay this one looks nice they put a
6:08
medium format border on this one
6:19
now this is one of the square format
6:21
borders that I had mentioned so let's go
6:25
ahead and bring this in
6:31
move along the resizing the image so
6:35
that it fits a little bit better it's my
6:40
format what square format you definitely
6:44
have to play around with it a little bit
6:45
but I think that looks nice right there
6:53
and then I'll also do so one of the fun
7:01
things you can do with the film borders
7:06
is messing around with the blend modes
7:07
so you can kind of add some cool effects
7:12
with that as well this will help you
7:14
know blend it with the image rather than
7:17
just being so blatantly obvious as a
7:21
this one actually that's pretty cool cuz
7:24
you you can see the water at the top
7:27
still even through the border like seen
7:30
that one soft without moving speed so
7:33
this is just fun to play around with
7:35
I'll add some more color and variation
7:46
but I'm gonna go ahead and go with soft
7:48
light I think you can see a bit at the
7:52
top and bottom it's kind of a page in
7:54
the border lecture notes
7:57
so kind of saving that and after this
8:01
I'm going to go ahead and show you how
8:03
to create kind of a poster mock-up
8:06
template with the polaroid borders
9:12
all right so I think that looks pretty
9:14
good for the Attic all in all I think
9:17
adding the you know the quantity of
9:20
having more than just one Polaroid and
9:22
the variation in color I think it makes
9:24
the whole thing look really good and so
9:28
that's about it you have any questions
9:30
about using the film borders or any of
9:32
the overlays or any of the ways did I
9:35
you know manipulated them with the
9:37
blending layers or adding knowledge to
9:38
the photos or anything like that feel
9:40
free to leave a comment below or reach
9:43
out to me on instagram at math
9:45
underscore Maloney rather than that I
9:48
appreciate you watching the video and