0:03
welcome to webxr tools to get started
0:08
put in your name pick a username add
0:15
set your password agree to the terms of
0:17
service and click register when you
0:19
register you'll be sent an email to
0:21
verify your email address if you already
0:23
have an account click login and put your
0:25
username and password and log into the
0:27
dashboard to get started click create
0:30
give that project a name select the VTO
0:33
project type and click create project
0:35
when the project loads you'll see a left
0:39
Center column and a right column
0:43
the left column is a configuration you
0:45
have your loader and your model the
0:46
center column is your canvas and the
0:48
right column is your settings for your
0:50
canvas we'll go back to our loader scene
0:52
here in the loading scene we can see we
0:55
have a purple background with a webxr
0:58
tools logo we can customize this logo
1:00
and the background color to get started
1:02
go over the right panel click the folder
1:04
icon this loads the asset manager here
1:07
we can drag in our logo we'll click
1:09
select new logo load it onto our purple
1:11
background next to change the background
1:12
color we'll click the purple icon here
1:15
we can select from a bunch of preset
1:18
I mean select from some pre-made ones or
1:22
choose a specific hex or select from the
1:25
Color Picker here and drag it around
1:26
until you find a color you like
1:29
next we can set our animation effect we
1:35
bounce which has this little bounce up
1:37
and down or none or just static
1:42
I like the bounce so we'll set it to
1:44
bounce and then we can set the scale of
1:46
the logo so we want to make it smaller
1:51
you can adjust it to a scale you're
1:52
happy with and once you have that your
1:54
loader is done next we'll select our
1:57
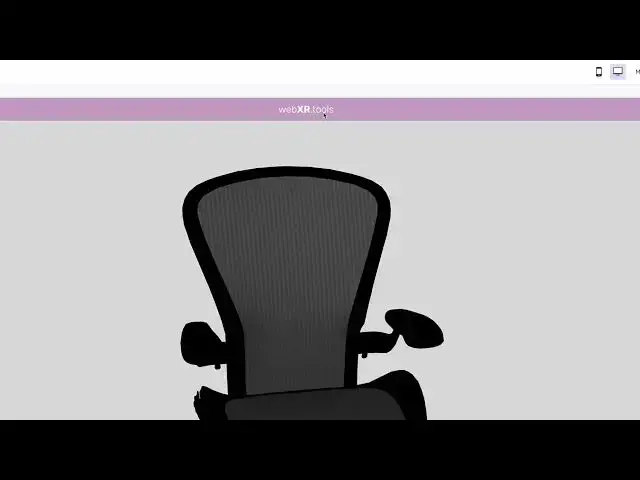
model scene you can see the pre-loaded
1:59
xr3d model we can grab it move it around
2:02
we have our top bar our call to action
2:04
and our experience and AR buttons to
2:07
change the 3D model we'll select the
2:09
folder icon launch our asset manager
2:15
you can see our 3D chair loaded into the
2:18
scene we also have the usdz file
2:20
automatically generated for us for
2:22
iPhone AR experiences we can also adjust
2:27
once we got a background we like we can
2:29
also update the Low by clicking it
2:30
selecting a background color or in this
2:33
case clicking clear we'll drag in a new
2:35
logo so we have two different from the
2:37
loader and the header
2:39
and then we'll hit select the logo size
2:41
not very big so we'll make it a little
2:43
next we'll update our call to action and
2:45
Link out here we'll change the text to
2:47
learn more we'll add our link to the
2:49
Hermann Miller site and we'll update the
2:52
we'll click save changes
2:54
we'll go up to the project settings
2:55
upper left hand corner we see the
2:57
project name and description this is the
2:59
information you see when you share the
3:00
link out either in social media or in a
3:03
text message we'll give it a nice little
3:04
description so when we share the link
3:06
people know what they're clicking
3:11
we'll set our thumbnail
3:17
select and then hit save changes hit
3:20
save and publish when we see the little
3:22
green icon we can view our project live
3:24
when the project loads we can see our
3:26
loader screen with our logo we can see
3:28
our 3D asset loaded here we can move it
3:31
around we can we see our experience in
3:33
AR button scan this on your mobile
3:35
device it'll load up the experience
3:38
you'll click the open Nar button and
3:40
test it out and also click our CTA to
3:44
here loads our website
3:46
now you've created your first VTO