
How to Make 3D Print Timelapse with Snapmaker 2.0 & Camera
Oct 29, 2022
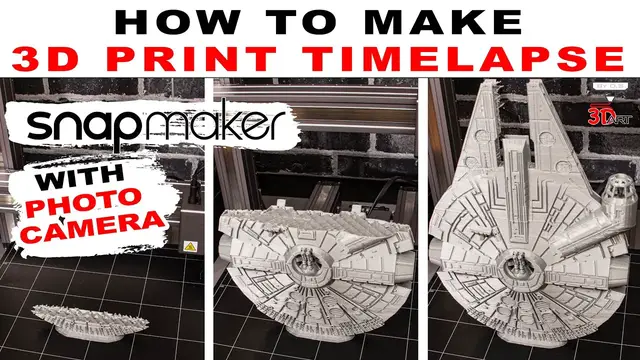
Short tutorial for Snapmaker 2.0 owners on how to make 3d print timelapse with photo camera. Link to additional parts and latest post production scrips for Gcode in video description.
Parts required for making timelapse with camera and remote control with Snapmaker 2.0
Holder allows to attach remote control on right side of Y axis.
Replicate of sidewall include cylinder for pressing button on the remote control to trigger shooting. Can be used on all Snapmaker 2.0 models.
https://www.thingiverse.com/thing:4756803
Timelapser & Post-production - Timelapse+ STUDIO, Discount Code: CrazyTroll https://timelapseplus.com/pages/studio
Equipment: 3D Printer Snapmaker 2.0 A350, Modular 3-in-1 - 3D Printer / CNC / Laser
Slicer: Cura 4.8.0 / Snapmaker Luban
Post processing scrips G-code in Cura (4.8.0) at present moment:
1. Time Lapse
Trigger camera command - M240
Pause Lengs - 700 ms
Park Print Head - YES
Park Print Head X - 319 mm
Show More Show Less #Camera & Photo Equipment